|
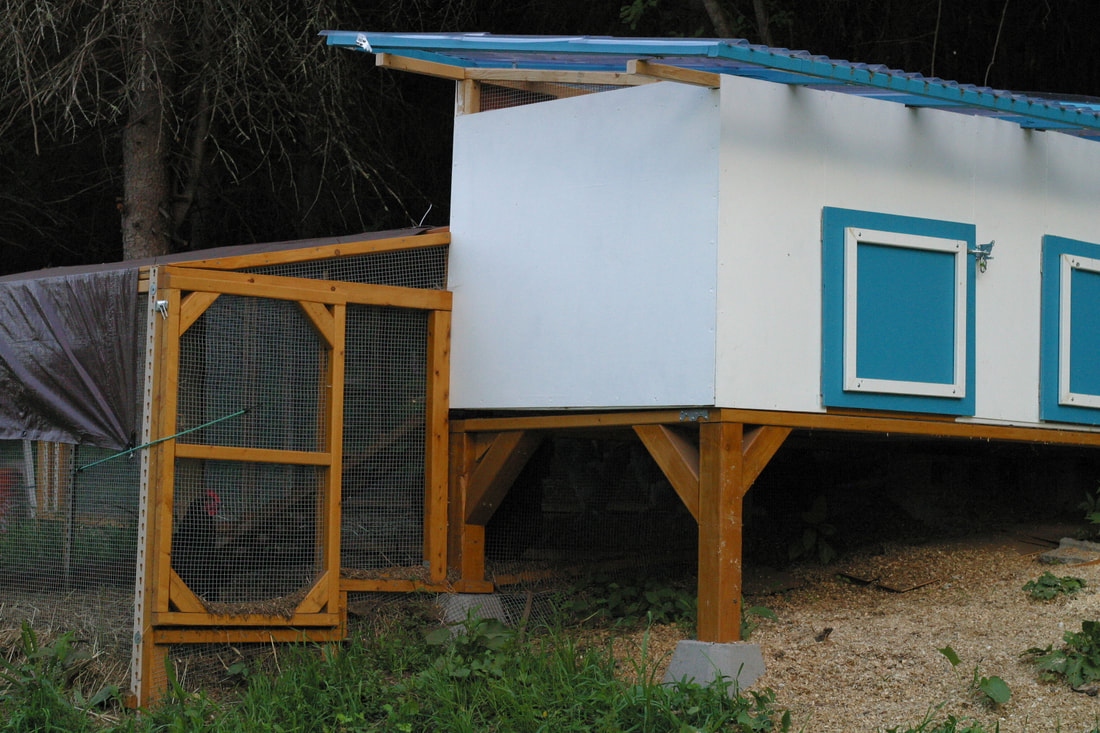
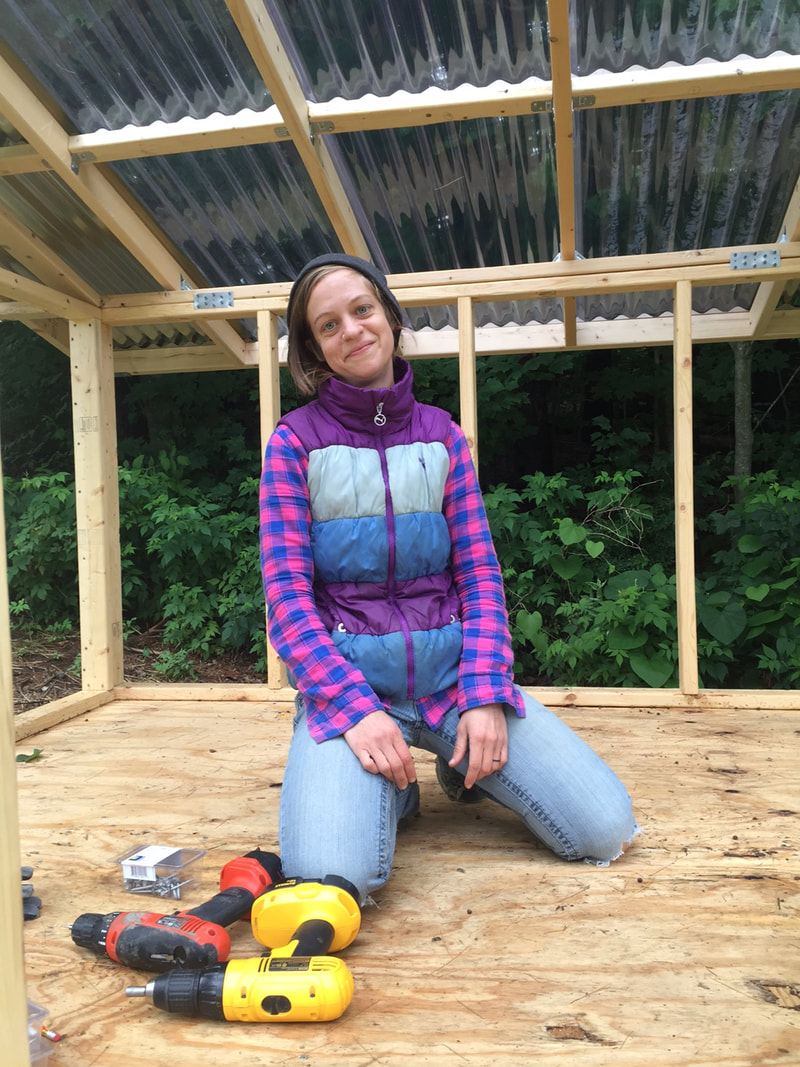
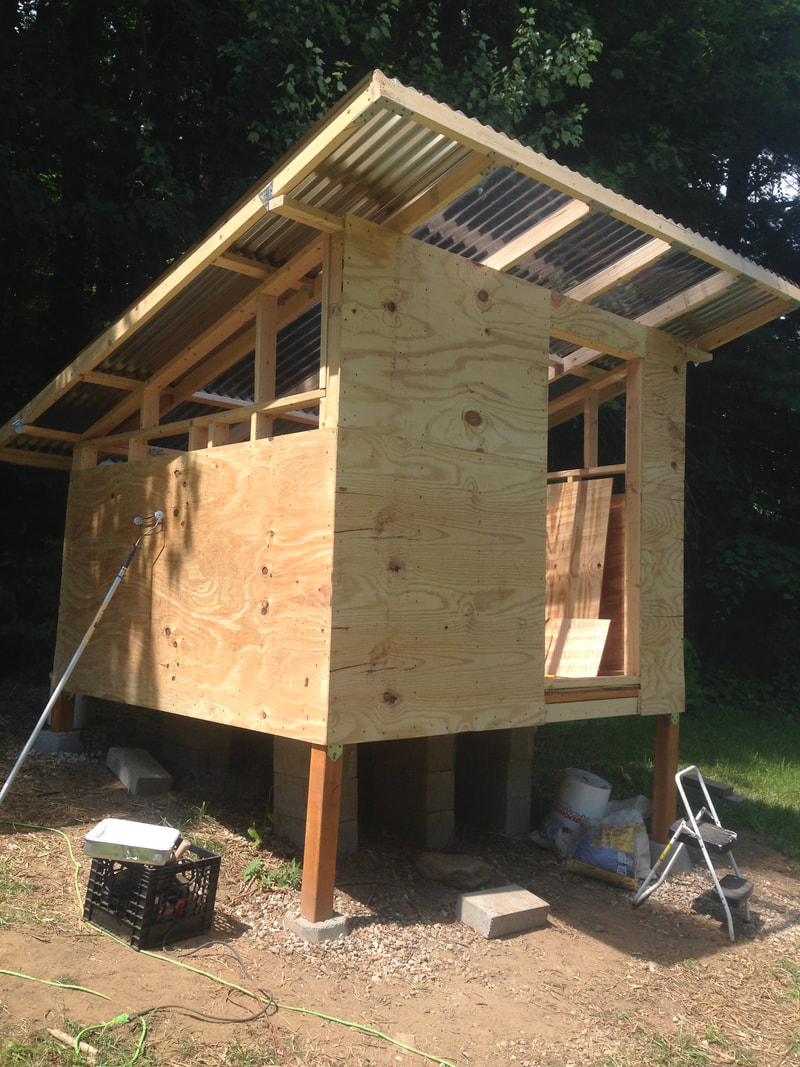
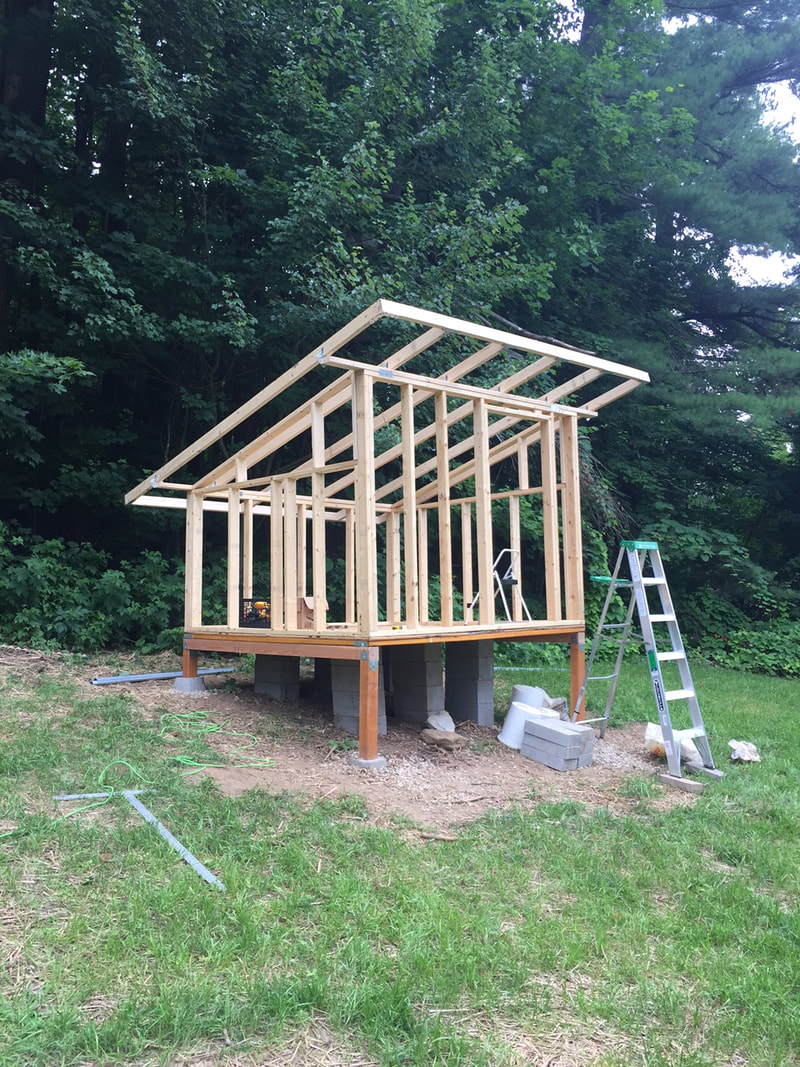
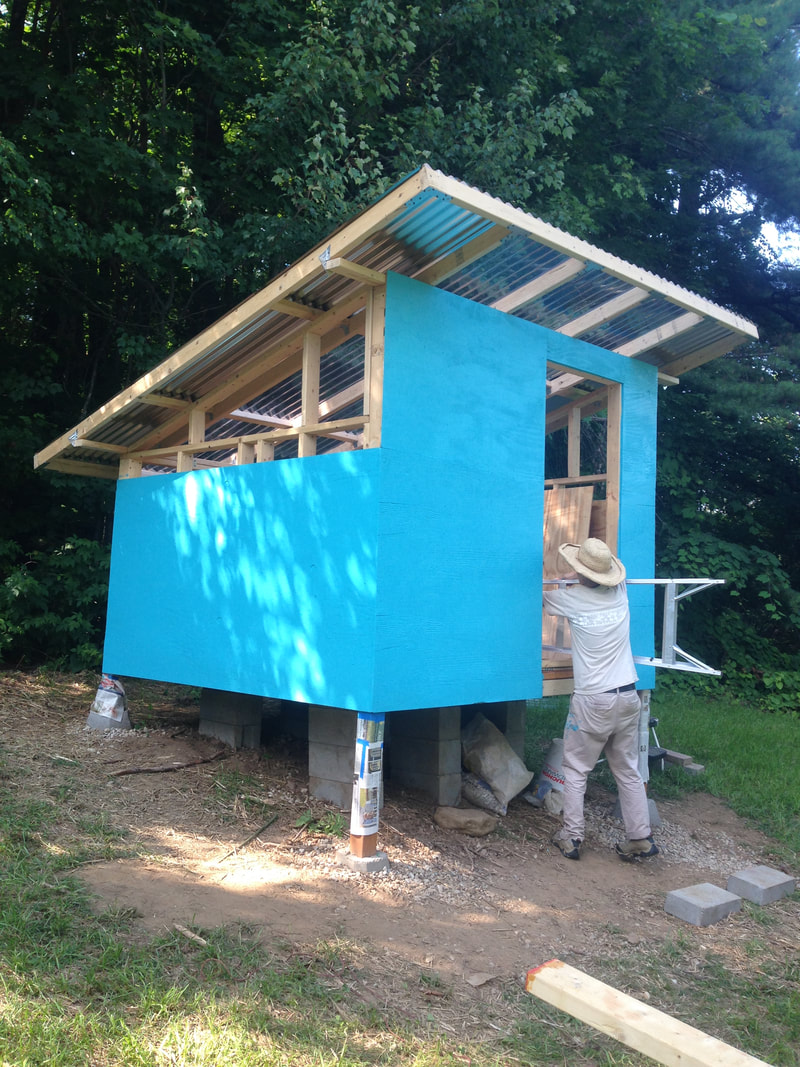
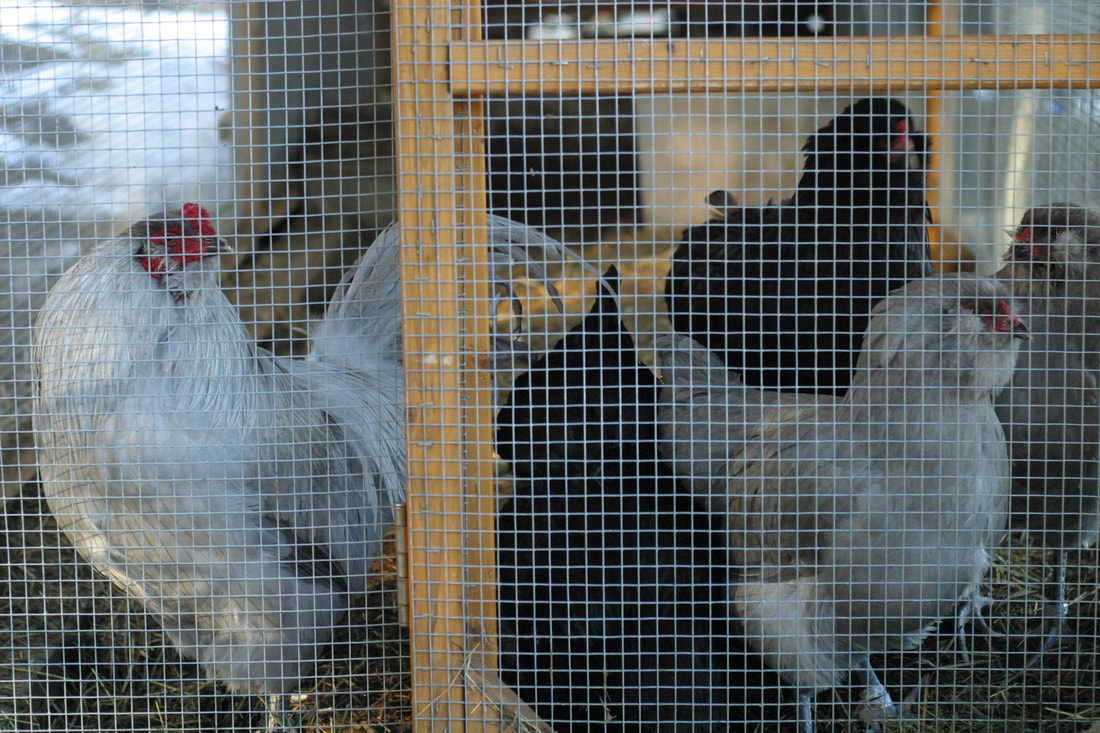
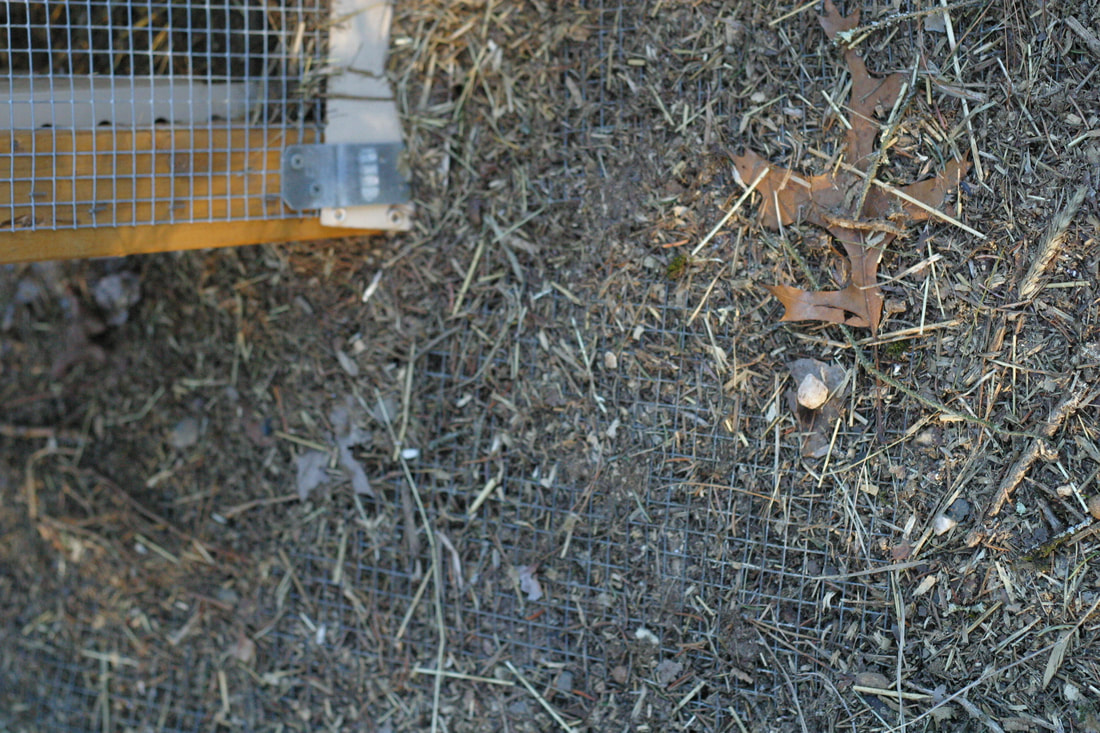
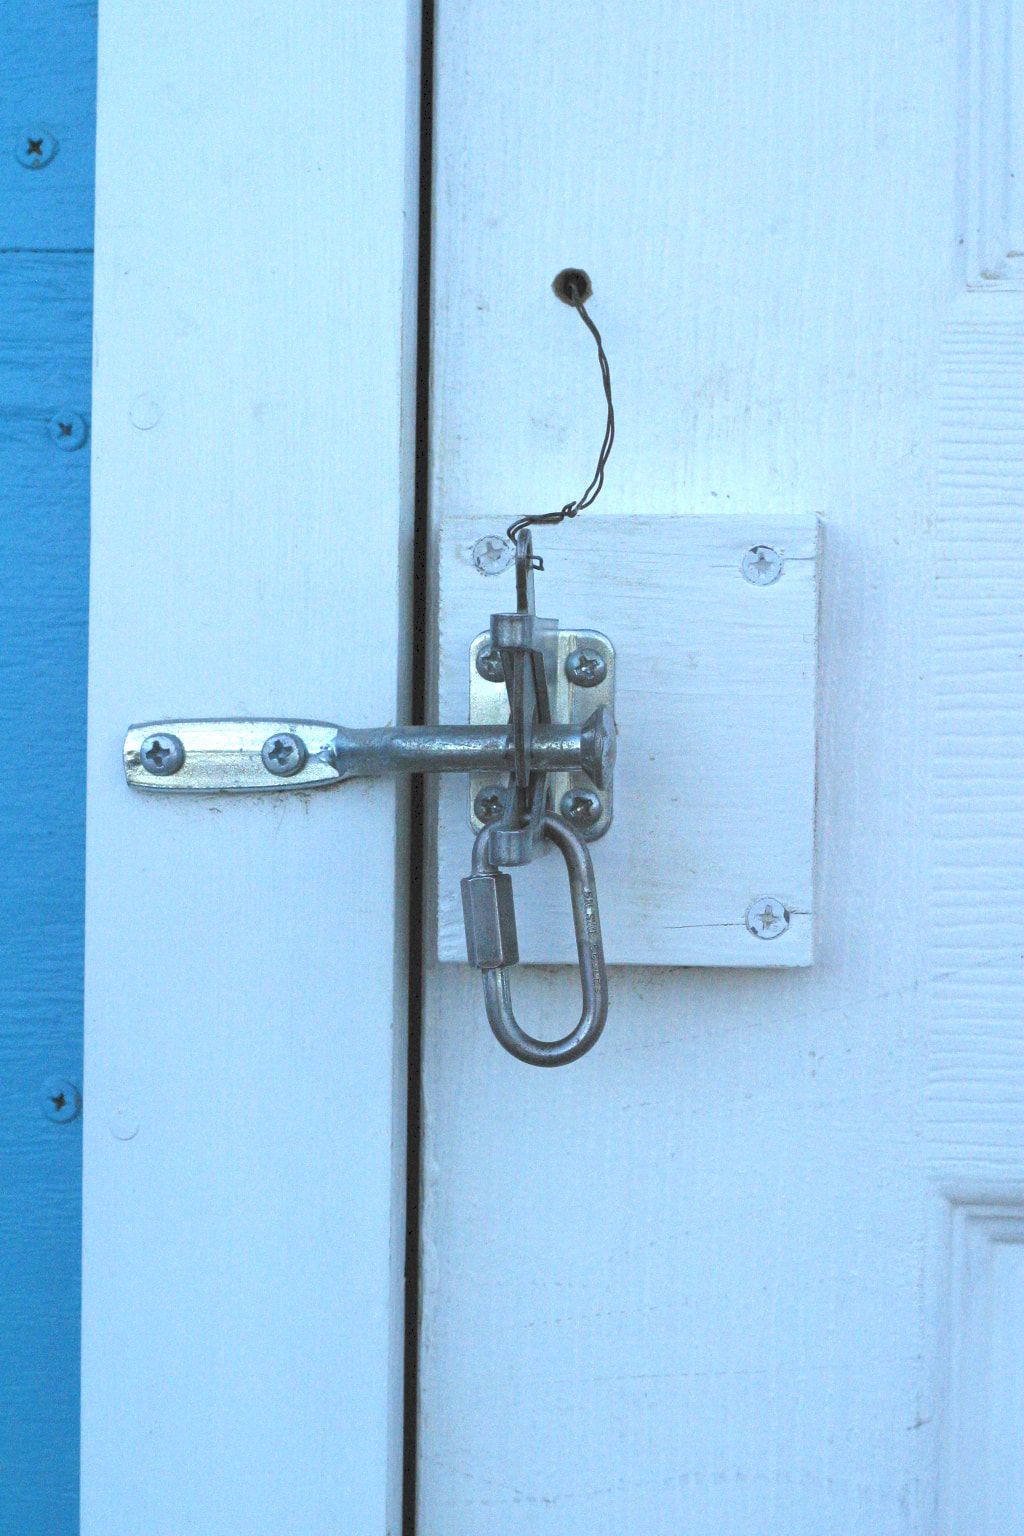
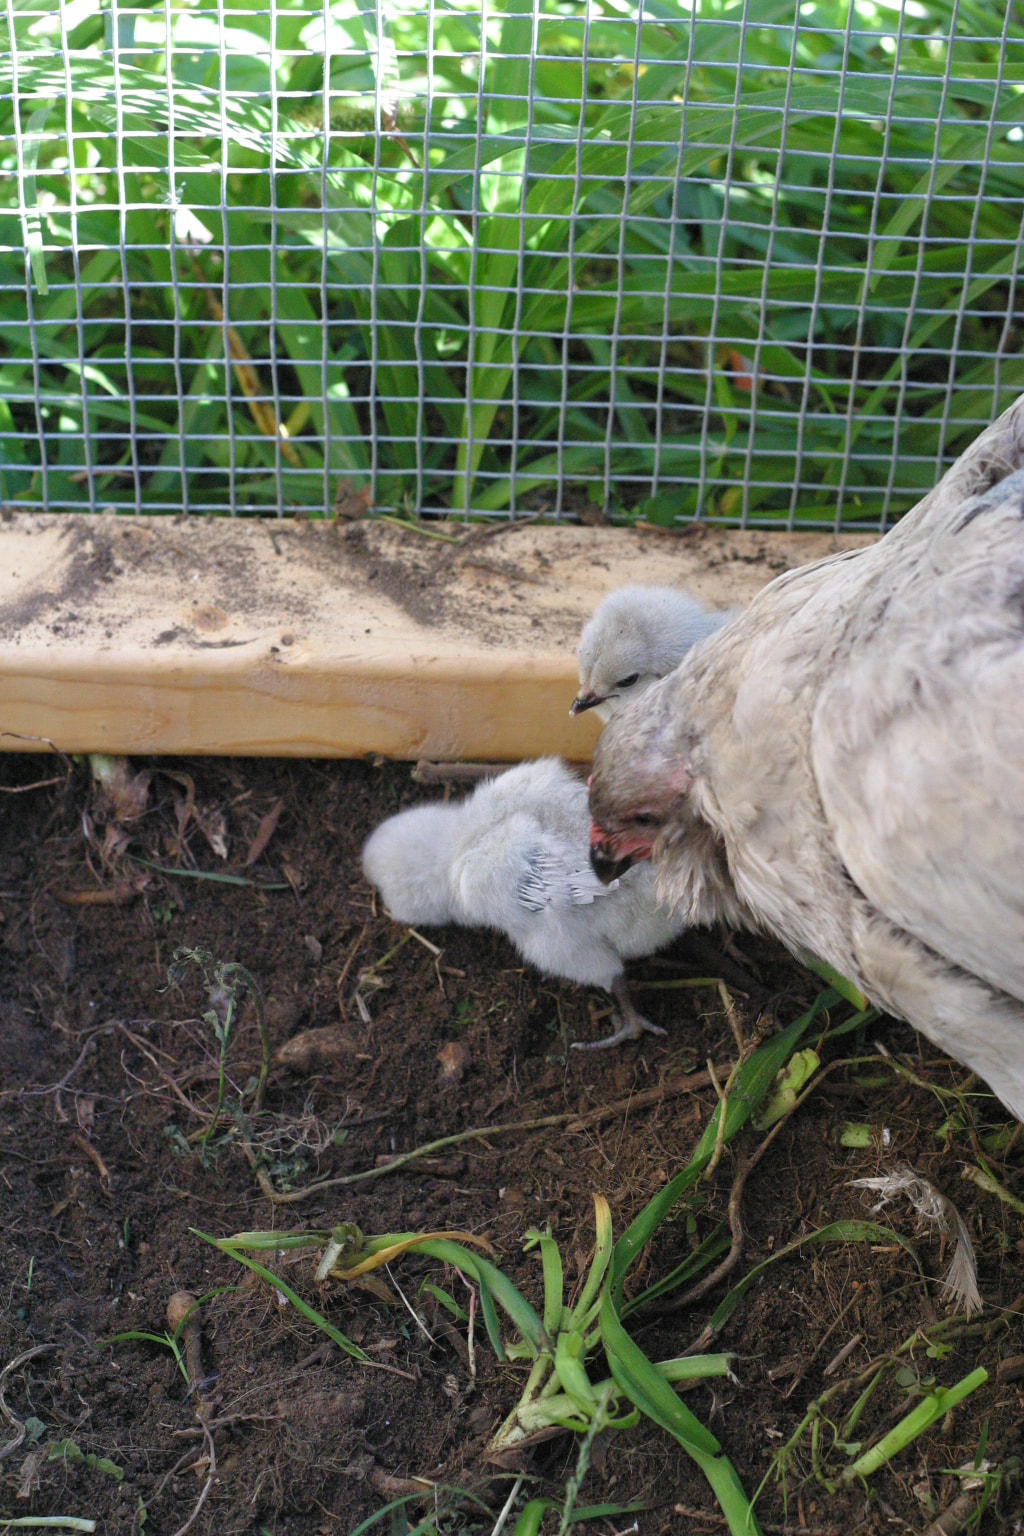
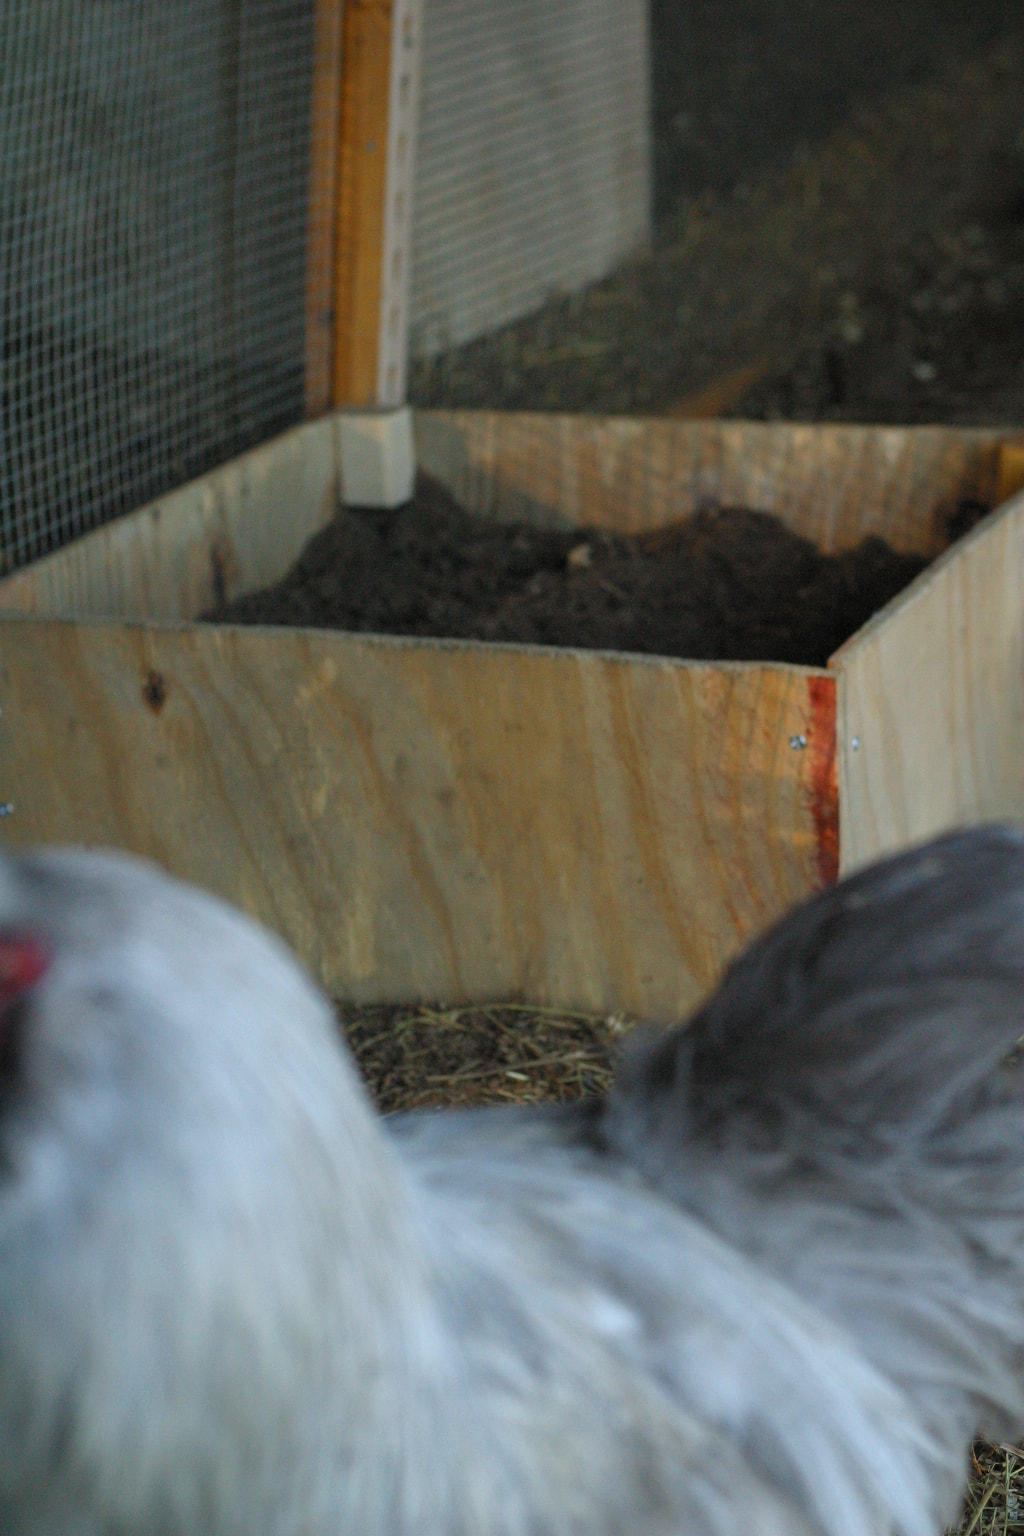
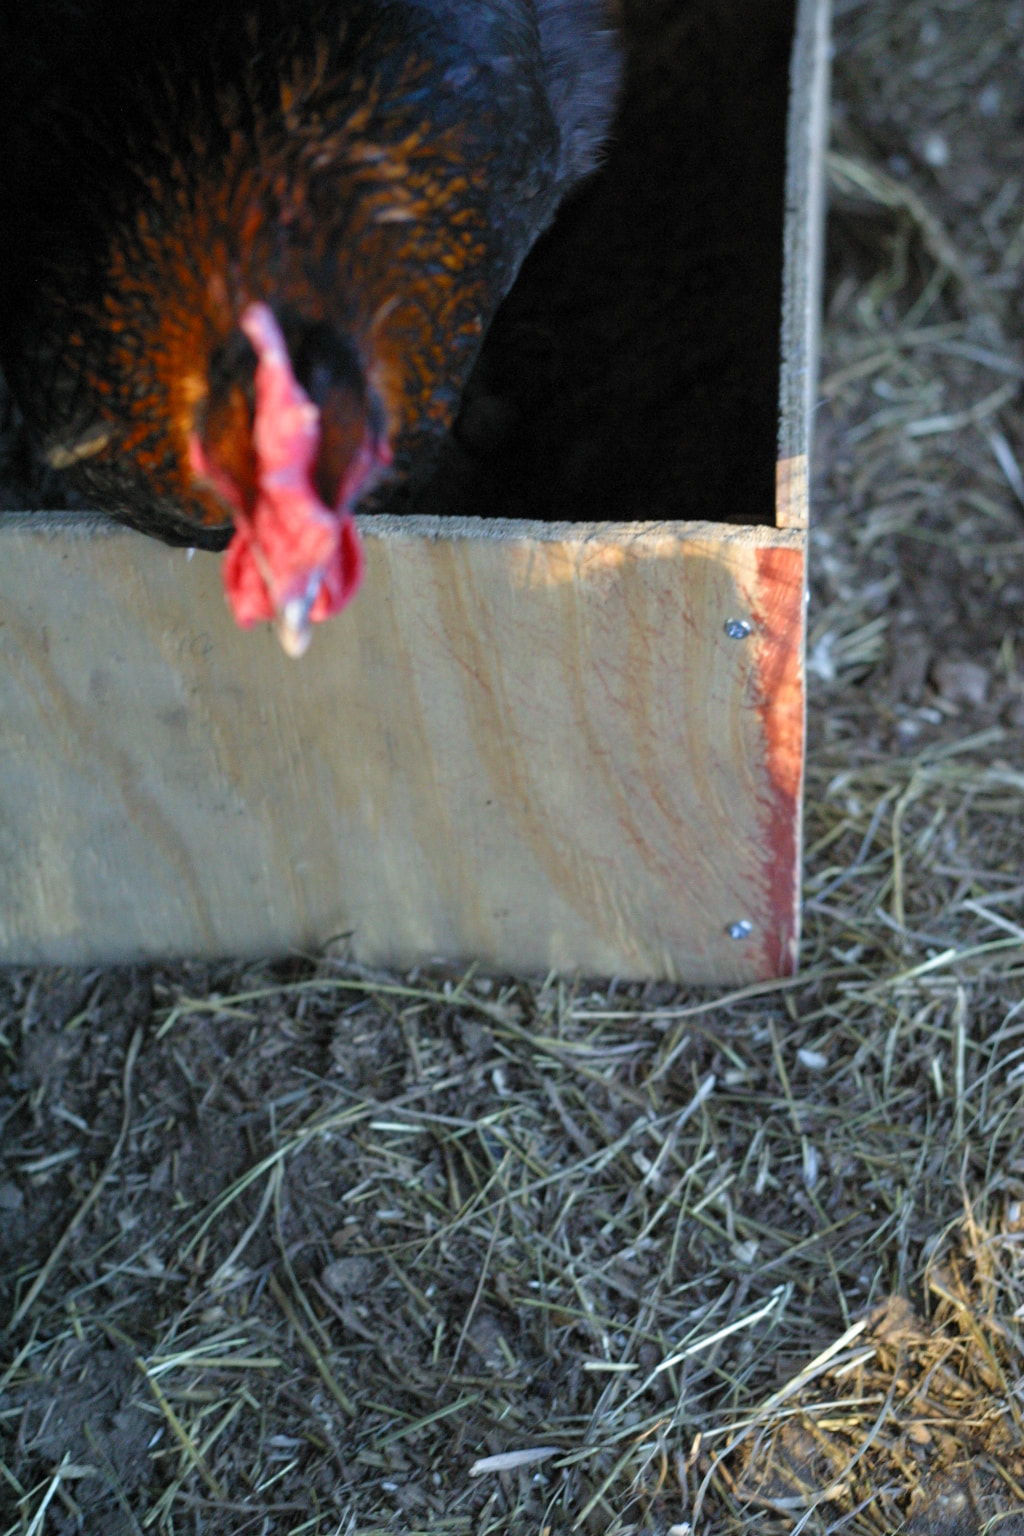
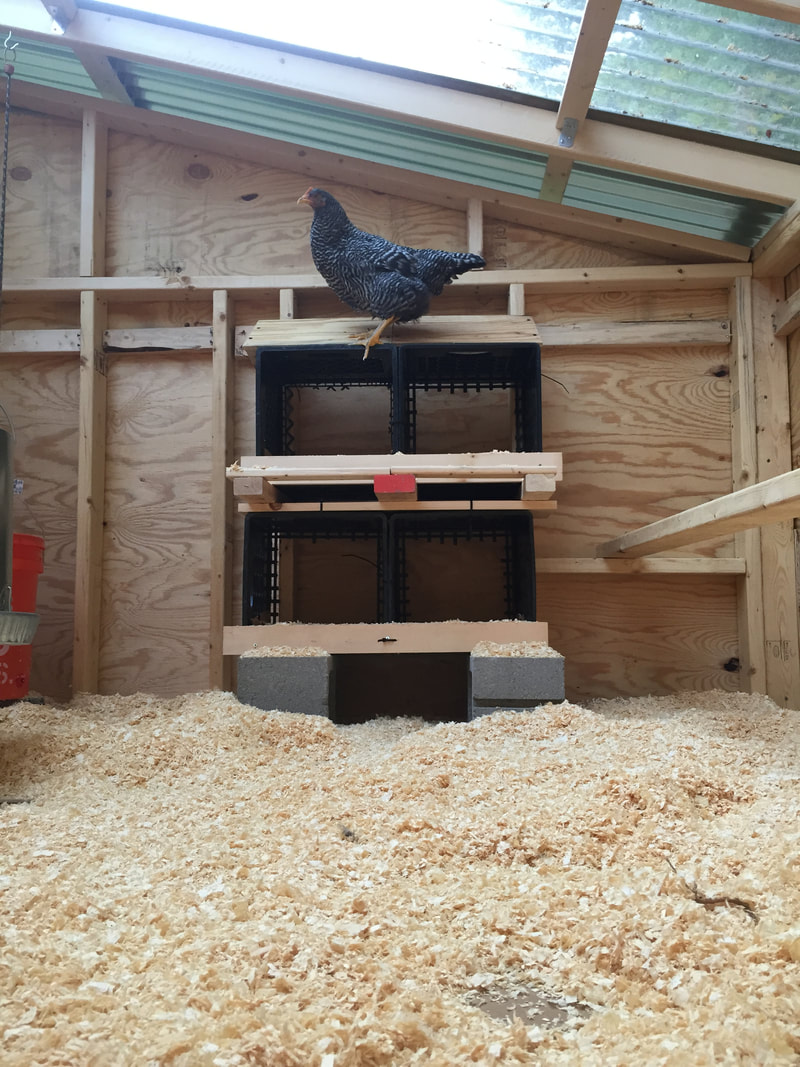
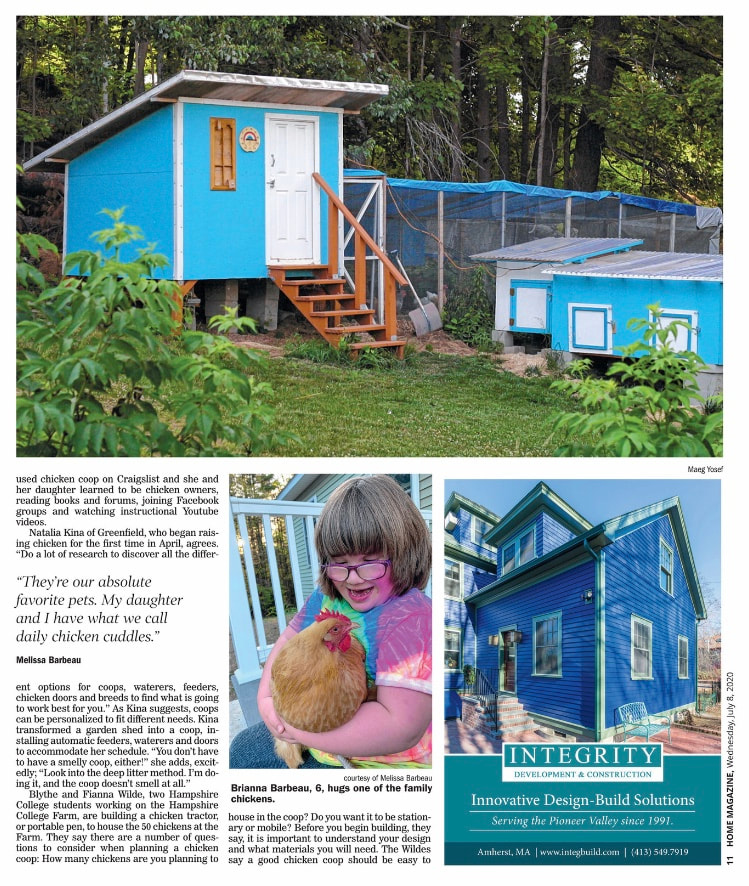
We are on the cusp of spring. If you’re a new chicken keeper, you might be putting the finishing touches on your first coop. Or you might be adding an addition to your hen house (because, chicken math) or reinforcing what you have. My wife Sarah and I have built eleven coops together on our farm, where we have a combination of stationary coops, movable tractors, and two small prefab coops. (Why so many? To maintain our clan mating programs). Over the years of building together, we’ve learned a lot about coop construction and what our chickens’ need--and we are still learning, even now. Our coops might not make the cover of Martha Stewart Magazine, but we built them ourselves, our birds are happy, AND not a single predator has ever breached our chicken castles! Wherever you are in your chicken journey, having a coop that meets your flock’s needs is a vital part of poultry care. Whether you are building a coop for the first time, purchasing a prefab coop, or already have your housing set, there are a few fundamental features that every coop should have. I’m going to go over them in this post, so that you can incorporate them into your build plans or make adjustments to an existing coop. Scenes from our first build: the laying flock coop. This coop is 8' by 8' and houses about 20 birds. Space First, let’s talk about space. The right amount of coop and run space is crucial to your birds living their best lives. Too little space can cause disease, stress, and behaviors such as pecking. Too much space in the coop can make it difficult for your chickens to stay warm in the winter. A good rule of thumb for large fowl is 2-4 square feet per chicken in the coop, and 10+ square feet per bird in the run (for bantam chickens, you can halve those amounts). So, for a small backyard flock of 6, that would mean 12-24 square feet of coop space and at least 60 square feet of space in the run. Of course, if you choose to free range your chickens, run space may feel like less of a concern. If you are able to free range your birds, I still recommend building a standard sized run that can accommodate your flock in times where free ranging may not be possible, such as periods of intense predator pressure, extreme weather, or if you are traveling and having other folks visit and care for your birds. For those of you getting your first flock this year, we need to talk. Chicken math is real. You might hear chicken people joke about it, but it’s a serious problem. However many chickens you are planning to get this spring--know that you will likely have many more not too far from now. It’s hard to stop; you might as well surrender. As you plan your first coop, consider that you might want to expand your flock in the coming years. To prepare for this strong possibility, choose a coop with 4 square feet per bird, the larger end of what’s recommended, and build your run out larger than needed. This will let you safely add chickens without having to build or buy another structure. One more thing about space--remember to make humans part of your calculations. While the right amount of square footage for your birds is important, YOU also need to be able to comfortably access the coop and run, so be sure to keep that in mind when you build. Predator proofing This brings us to another key element of any coop and run set up: predator proofing! I can’t stress enough how important it is to never underestimate predators. They are smart, capable, wiley, strong, and dexterous. Large and small, land and aerial, daytime and nocturnal, wild and domestic. Our biggest protection against predators is hardware cloth. Hardware cloth is a metal mesh material that’s tough enough to protect against predators--unlike chicken wire, which is not strong enough for the job. Chicken wire is meant to keep chickens in, not keep predators out. I recommend ½” sized hardware cloth--the smaller mesh will keep animals of all sizes out of your coop and run. Where to use hardware cloth: All of our covered chicken runs are built exclusively with hardware cloth and wood. We also added 1.5’ wide hardware cloth skirts on the outside of our runs, where the run meets the ground, and secured these skirts to the ground using landscaping stakes. The skirts will prevent digging predators from tunneling into your runs. Dig guards are another option to discourage digging, but we’ve found hardware cloth skirts to be more affordable. Small rodents can dig tunnels between the ground and your hardware cloth skirts; keep an eye out for these and fill the tunnels and set traps as necessary, as the tunnels can serve as an opening for more deadly animals. Hardware cloth is also the perfect material for plugging any small holes or gaps in your coop or run. A weasel or a mink can fit through a one inch hole--about the size of a quarter--so you’ll want to go over your coop and make sure that any holes this size or larger are sealed in some way. Another key aspect of predator proofing your coop is to have the proper closures. Raccoons have small hands that can open a variety of latches. They are also smart, and will return to a place again and again, making repeated break-in attempts until they are successful. They’ve even managed to break into banks. So don’t underestimate these critters! We use self-latching gate locks with quick link locks--because raccoons don’t have opposable thumbs, they aren’t able to twist these open. Below is an image of our typical latch set up, and a still from a late night video Sarah took of a raccoon trying--and failing--to open our coop doors. Ventilation After all this talk of predator proofing, your instincts might be telling you to close your coop up tighter than a bank vault, but hold up. Ventilation is KEY to a healthy flock. During the warm months, ventilation provides a constant flow of fresh air and prevents ammonia buildup in the coop--if you smell ammonia in your coop, you need more ventilation! In the winter, ventilation helps prevent moisture buildup which increases your chicken’s risk of frostbite. Year round, provide ample ventilation in the ceiling of the coop, high above your bird’s heads. Ammonia is lighter than air, so locating your ventilation up high will allow ammonia to escape without creating a cold draft where your birds are sleeping. Make sure that this ventilation is both protected from the elements and predator proofed with hardware cloth. During the summer, have more ventilation lower in the coop, such as predator proof windows that you can close up during the winter. Pop doors also provide air flow, and adding a canvas curtain or closing the pop door during the coldest nights will help protect your flock from winter drafts. Insulation Insulation and ventilation should be considered together. During the winter months, we add poly-iso insulation pieces to the ceiling of our coops, which help to keep heat in but don’t block our high ventilation (note: if you use this material, be sure that your chickens can’t reach it. Like anything they see, they WILL eat it.) We also replace our coop windows with solid wood; otherwise these windows would be a source of cold drafts stressing our birds. Keep in mind that chickens can handle cold better than humans, and have been for thousands of years. A well-sized, well-ventilated coop will let your full grown chickens brave the cold without needing a lot of intervention from you. Below 10°F, I will coat our Marans roosters’ combs with a bit of petroleum jelly to protect from frostbite, and if we hit temperatures below 0° we will close the pop doors and move any open waterers outside to reduce moisture. Cover your runs When building our runs, we used hardware cloth and wood panels to create roofs so that the run would be completely predator proof. Because hardware cloth is mesh, it needs to be covered in order to keep out rain and snow, which makes the runs muddy and messy for our flocks, and to keep out wild bird poop, which is a biosecurity concern. We used thick tarps to cover the runs and keep them dry, and overall this worked pretty well and definitely accomplished our goals. However, the tarps tended to gather rain, ice, and snow, which put pressure on our hardware cloth panels. Tarps also keep out the sun, and when not free ranging your chickens need that good sunshine and vitamin D for their health. We switched out the tarps for clear corrugated roofing panels, which solved both problems and will last for years to come. Dust baths Chickens are not fans of taking human-style water baths (ask me how I know!). Their preferred method of bathing involves flopping around in some fine, dry dirt. A dust bath helps chickens remove common parasites like lice and mites that they commonly come into contact with outdoors. Even if they free range, provide a dust bath for your flock to guarantee they get the spa treatment they need. I went right to Sarah on this one, as she has recently installed new dust baths in all of our chicken runs. She used scrap wood we had on hand to build bottomless containers that are roughly 18” square and one foot deep, and placed them directly in the runs. In our wheelbarrow, she mixed 10 gallons of dry soil, 3 quarts of sand, and 3 quarts of ash from our fireplace (note: we no longer use diatomaceous earth in our baths as it’s controversial and might damage their respiratory system). This mixture is enough to fill one dust bath. You may not want to build your own bath. Instead, you can use a plastic tub, wooden or metal crate, or even a kid sized plastic wading pool. Whatever you use, make sure that the dust bath is protected from the elements so that it stays dry. Note: After we install new dust baths or refresh an old one, we often notice that the chickens' poops are black for a day or two, as some of them peck at and ingest bits of charcoal from the ash. Don't be alarmed if you see this, too. Forester and his hens were too excited about my camera to let me get a good shot of them dustbathing. The double floor This isn’t a must, but I have to recommend the double floor, especially if you are building a large coop that is a significant investment for you. The very first coop we built is also our largest. It took us a whole summer, squeezed in between day jobbing and parenting, and definitely stretched us as builders (and humans!). Because of the significant investment of time and money that this coop represented (not to mention sweat and tears, haha!), we wanted to make sure that it would last. The floor of the coop is made of two layers of thick, sealed plywood. On top of that we added a REMOVABLE floor made of the same material. This way, only the removable floor is exposed to moisture, and if it’s ever damaged beyond repair it can be easily replaced. When we deep clean the coop, we can also take this floor layer out and let it spend a day in the sun, if needed. The trick to making the removable floor? It needs to be the same size as the permanent floor, but in TWO or more pieces, so that you can easily remove it by lifting one side at the seam. Nesting Boxes This is what it’s all about--eggs, right? Your hens need about 1 nesting box per 4 birds, and each box should be roughly one cubic foot, to offer snug-but-enough space for laying. You can build these boxes out of wood, or repurpose something you already have--we’ve used lined milk crates for a number of nesting boxes. One important feature--add a sloped roof to the top of your nesting box or boxes. This will prevent your chickens from sitting or sleeping on top of the boxes and making a big poopy mess for you to clean up. A proper roost Don’t treat your roost as an afterthought. The right roost is important, and not just any old stick will do! First, the best roosts are flat, so that when a chicken sleeps at night her feet can also lay flat and be covered by her feathers. A small, curved roost means her toes will be exposed and vulnerable to frostbite as she grips the roost while sleeping. A 2 x 3 or 2 x 4 piece of lumber, wide side up, makes an excellent roost. Roosts should be installed 12-18” from the floor of the coop. Higher than this, and your chicken might sustain foot injuries getting off the roost, which can lead to bumblefoot. When planning for roost space, make sure your roosting bar is long enough for each chicken to have 10” of space each (8” is sufficient for bantam breeds). Healthy materials, healthy hens, healthy eggs. Choosing chicken safe materials While it might last longer, we never use pressure treated wood in anything we build for ourselves or our chickens. While arsenic is no longer used in pressure treated wood, its replacement preservative--ACQ (Alkaline Copper Quaternary)--is highly corrosive and requires the use of all stainless steel or copper fasteners for safety. We also don’t feel sure that ACQ treated wood is safe for our avian friends, and prefer to err on the side of caution. When it comes to sealants, we are careful about what we use to seal our untreated wood. Since our birds are in constant contact with their surroundings, pecking at every surface of their coop, we’ve found a couple different safe options. Vermont Naturals is an effective whey based sealer that we used on our early coops, but we’ve found over time that Valhalla Wood Preservatives (affiliate link) is a non-toxic stain that works just as well but for a fraction of the price. Food and Supplements If you have the space and it works for your design, hanging feed and water is a plus in your coops. By hanging feed and water, you make it more difficult for rodents to access both. You’ll also prevent knocked over and spilled feed--which both wastes money and attracts those pesky rodents. Your chickens also need free access to grit and calcium. I’ve found the best way to provide both without them constantly getting knocked over into the coop bedding is to provide them in small containers attached directly to the framing of the coop. So, just to summarize, here are the essential elements to a healthy, safe, and functional chicken coop: ✅Predator proof: hardware cloth, skirts or dig guards, latches. ✅Ventilation ✅Insulation ✅Dust bath ✅Right roost: 10” per bird, 12-18” off the floor ✅Hanging food and water if possible ✅Nesting boxes--one cubic foot, 1 box per 4 birds, sloped top ✅Containers for free choice grit and calcium ✅Space: 2-4 sq feet per bird in the coop, 10+ sq feet per bird in the run ✅Double floors are awesome ✅Sunlight ✅Covered runs for cleanliness and biosecurity ✅Choose bird safe wood and sealers I hope this list helps you in your spring coop building projects, or gives you a departure point to reevaluate any coops you’ve already built or bought. Is there anything you would add to this list? Last summer our coops were featured in our local paper, the Hampshire Gazette.
You can read the full article right here.
6 Comments
Kelsey Jorissen
3/12/2021 10:56:35 am
This was such an informative post you guys! Thank you so much. Pinned it to all my Pinterest boards!
Reply
Thomas Pieters
5/10/2022 08:04:35 pm
Excellent article to learn from.
Reply
Wanda Robinson
3/12/2023 01:12:57 pm
Thanks for this great info. We have a growing flock and need to squeeze a little extra space for our girls. Would yourecommend allowing chickens to sleep outside as long as they are surrounded by 1/2" hardware cloth? If this was a safe option for our flock, it would more than double our coop space for sleeping purposes and then during the day our girls have over 2000 sf of space to free range, so coop space is not an issue there. Thanks for your input.
Reply
2/16/2024 04:26:43 pm
That looks like a tough build on the side of a hill. Looks great. Thanks for sharing
Reply
Leave a Reply. |
Hi, I'm Maeg.Welcome to our blog! Categories
All
|
©
The Silver Fox Farm

