 In this post, I'll show you how to make a DIY chicken waterer. This is the exact design we use on our farm. These waterers are easy to make, inexpensive, and will keep your flock's water fresh and clean.
Many years ago, in another life, I had my first flock of chickens: six buff Orpingtons I’d ordered through my local feed and seed. They were sweet as heck, and not quite legal, but adored my neighbors. I loved those birds, but since they were my first, there was definitely a steep learning curve for me. I had dutifully purchased everything they needed, including a large plastic poultry waterer. It was pricey (something similar would set you back about $50 now) and had an open trough that made it hard to keep their water clean. I suspect that this design, along with my inexperience, contributed to one of my birds falling ill. After that experience, I wanted a way to both save money and keep our birds’ water as clean as possible. The solution? Making our own DIY waterers at home. It’s incredibly easy, and in this post I’m going to show you exactly how to do it! All you need is a few minutes and a few simple tools.
0 Comments
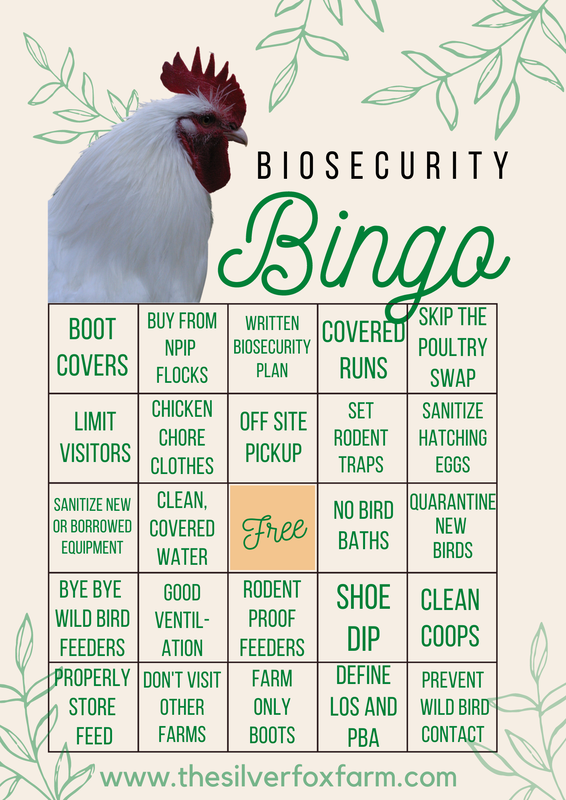 What is a Biosecurity Plan?A biosecurity plan is a set of measures put in place to prevent the introduction of disease into a flock, or keep disease from spreading within a flock. While the phrase “biosecurity plan” might bring to mind industrial scale poultry houses, these precautions also have a place in a backyard flock or small scale farm.
Biosecurity plans don’t have to be fancy. They are composed of simple, everyday things you can do to protect your birds from disease and keep them healthy. In this post, we’ll break down what each element of a biosecurity plan means, and give examples of how they can be applied to your own flock.  Bantam Salmon Faverolles chick. Have you ever wished you knew which chick in a hatch came from which egg? Are you launching a breeding program and wondering how to keep track of matings and offspring? Or do you simply want to keep tabs on your feathered friends?
In this post we’re going to talk about how to pedigree your chickens, which will help you do all of the above. Knowing how to pedigree your birds is a valuable skill that will come in handy whether you’re a serious breeder or just love hatching chicks for your backyard flock. What does it mean to pedigree chicks? Put simply, it means keeping track of your bird’s genetic background. Depending on your breeding program or goals, this practice may take different forms and happen for different reasons. The pedigree process is necessary when managing a breeding program and allows you to trace the origins of the chicks you hatch by pen or individual mating. When breeding for egg color, you can track the color of the egg a chick hatched from (definitely helpful when selecting for darker Marans eggs!). Tracking the pedigree of chicks is not just for breeders, though. These tools are also incredibly helpful for identifying and separating breeds and crosses that look the same at hatch, or keeping tabs on an individual bird’s behavior, health, and vigor. 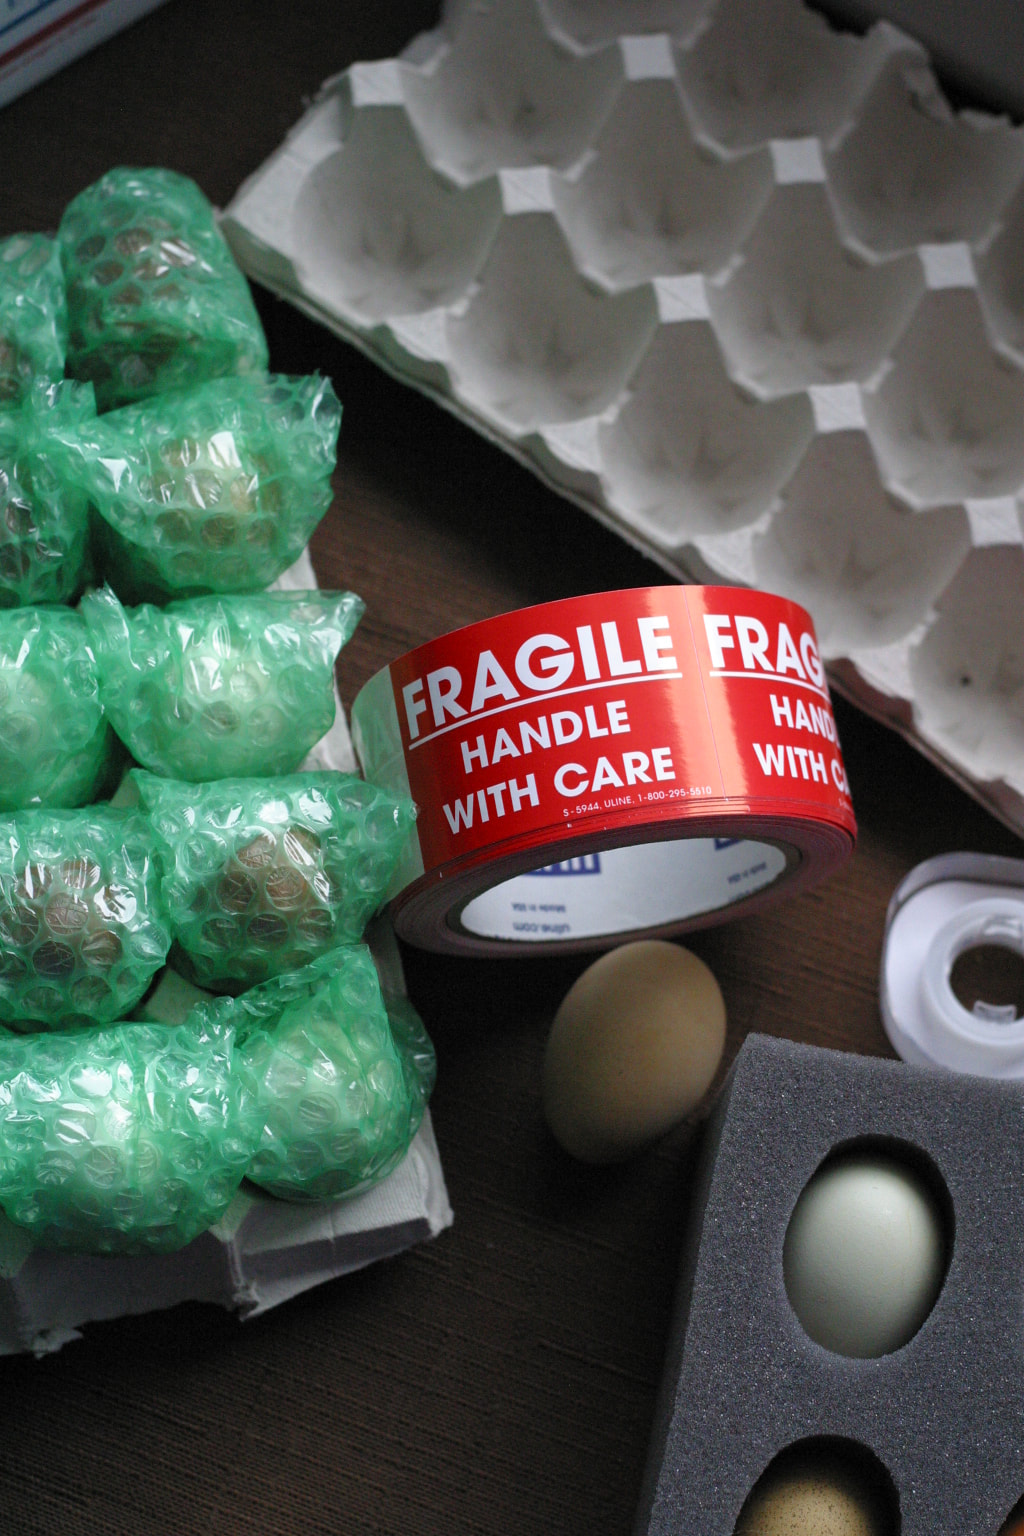 One of the most common questions I get from folks who don’t have chickens, but know that we ship hatching eggs all over the U.S., is this: “How in the world do you send eggs in the mail without them breaking?”
They are often surprised when I tell them that preventing breakage during transit is easy. The trick, though, is to pack an egg well enough that it not only doesn’t break, but also develops into a healthy, thriving chick. That, my friends, is no small feat–especially when shipping and incubating conditions are outside of our control. Once the eggs leave our hands and enter the labyrinth of the USPS, their ultimate fate is beyond our influence. They will face unpredictable handling in transit, and experience a range of incubation conditions. Our part in ensuring a good hatch for our customers is to pack their eggs with the utmost care. With a bit of trial and error, we’ve found a safe, reliable packing method for our hatching eggs that works for us–and I’ll show you exactly how we do it in this post. Of course, there’s more than one effective way to pack hatching eggs for shipping. I’ll also share some general best practices for shipping eggs, and discuss a couple good alternatives to our method. 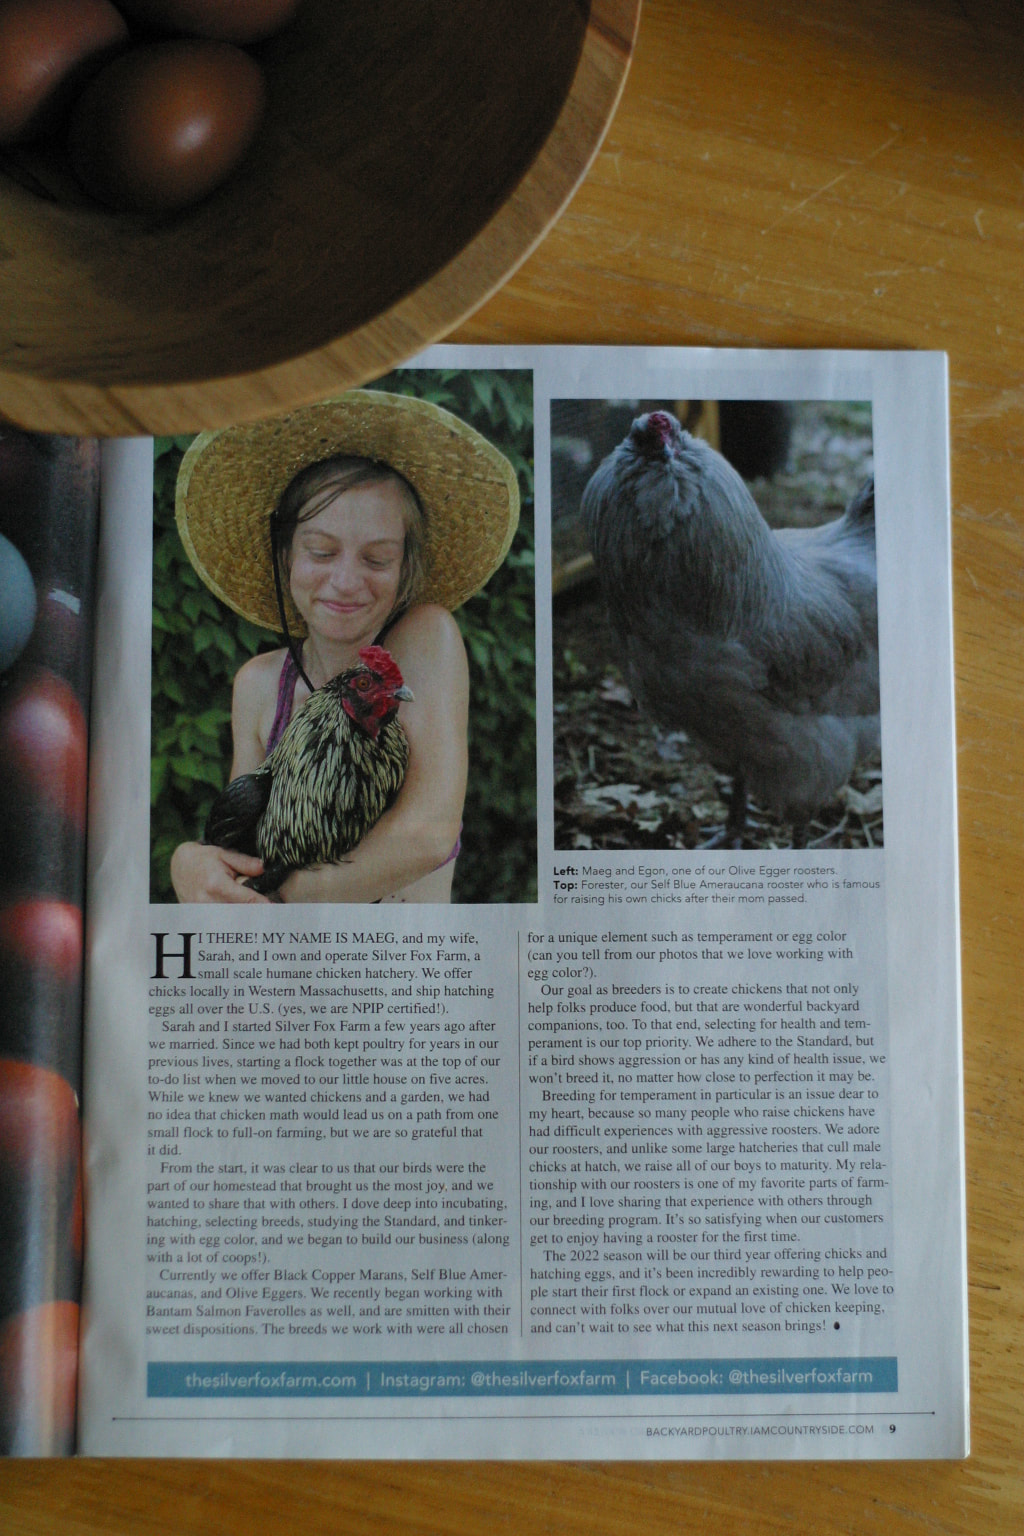 Sarah and I were honored to have our farm featured in the latest issue of Backyard Poultry Magazine! It was especially fun to see some of our favorite chickens in our flocks enjoy their fifteen minutes of fame, such as our gentlest Ameraucana rooster, Forester.
Continue reading to see the full feature! 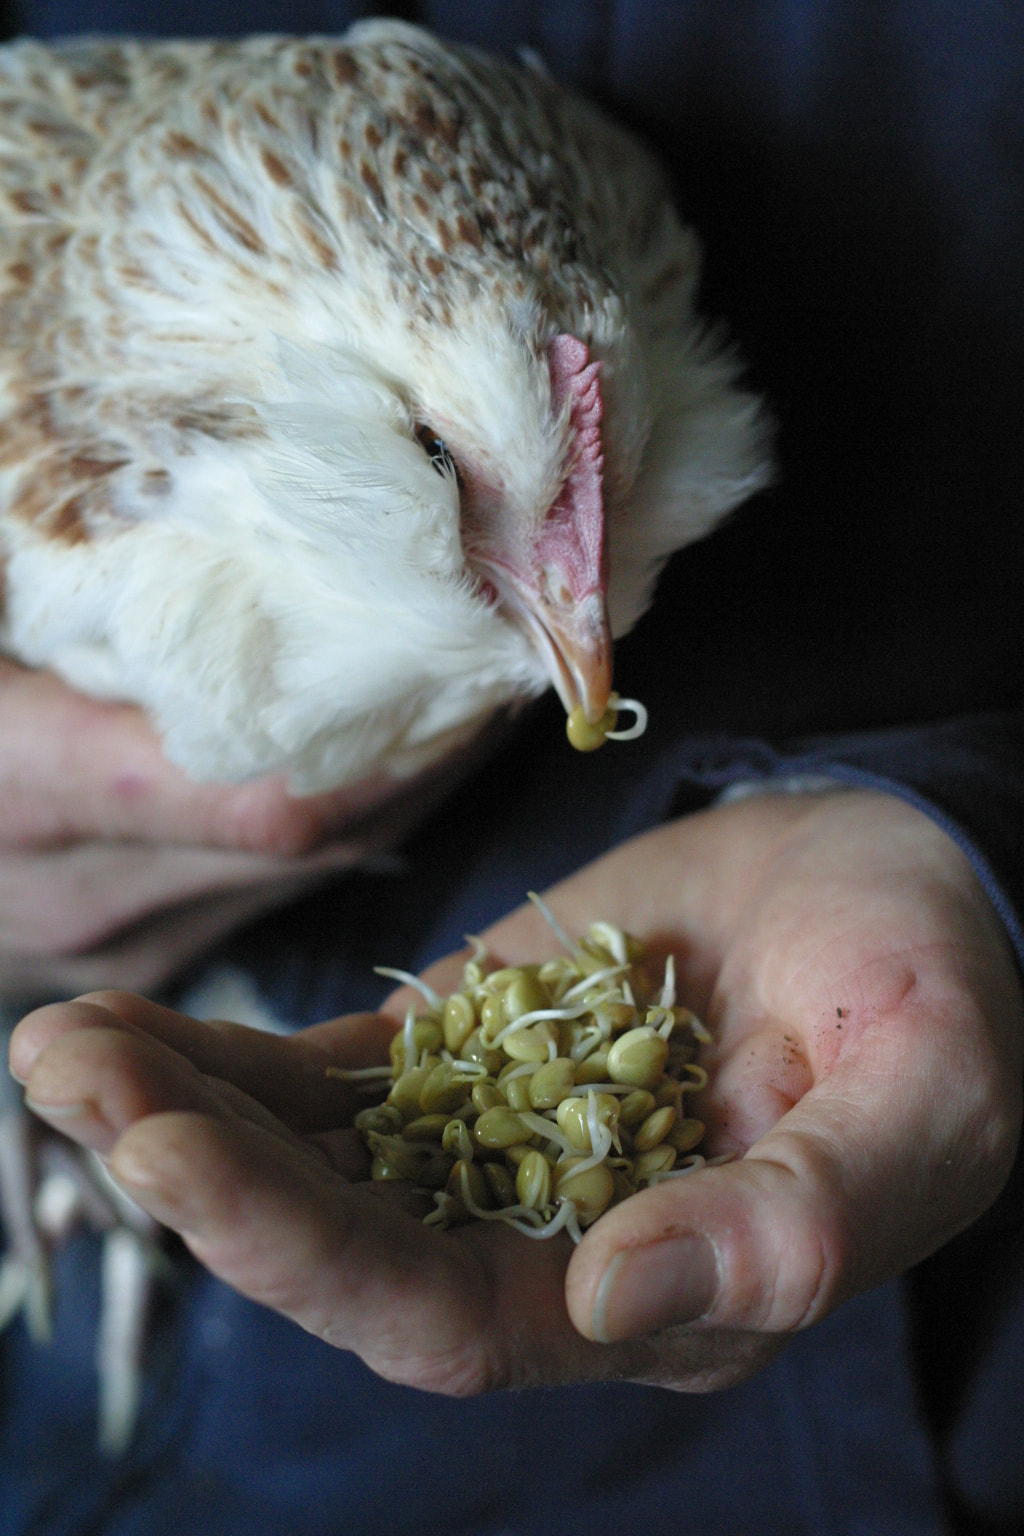 Here in Western MA, where our farm is located, winters are often tough and unpredictable. We can experience everything from sudden spring-like temperatures to blizzards in the same week. There is one constant, though: a lack of greenery, with no pasture or forage available to our flocks.
When winter has killed off everything but the pines, we pamper our chickens with sprouts. Nutrient dense sprouts are great for our birds all year round, and they are the perfect way to give our chickens the greens they are craving during the coldest months of the year. The best part? Sprouts are INCREDIBLY easy to make yourself, and in this post I'll show you how. 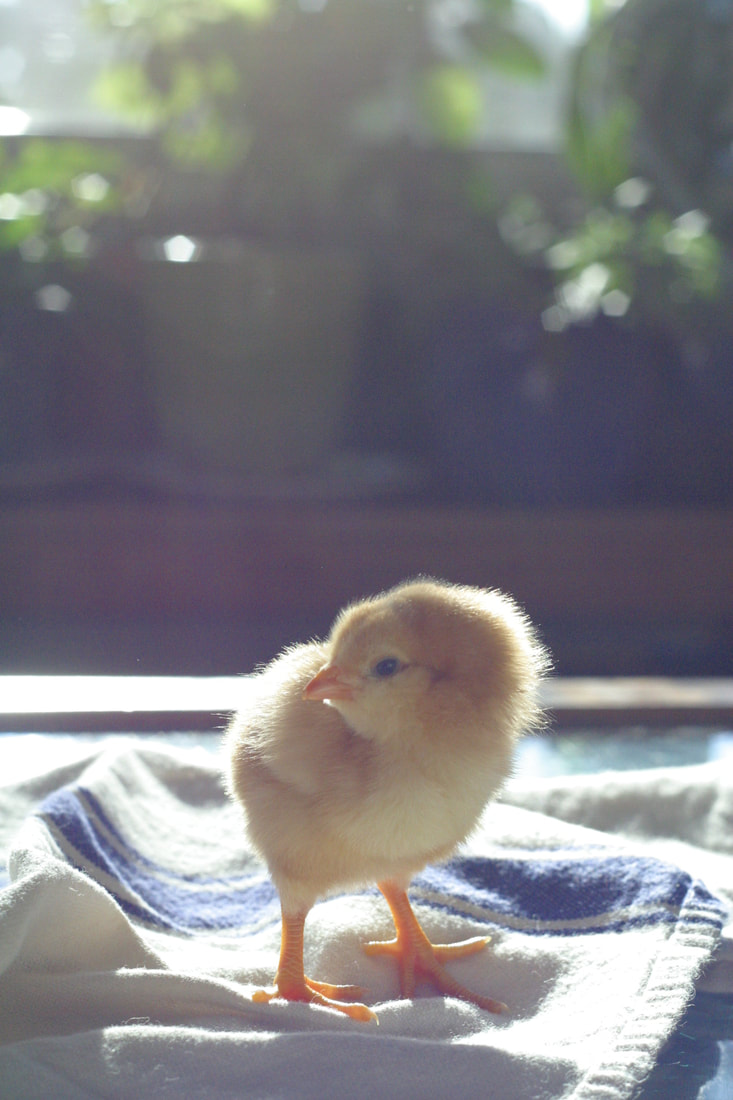 Dumbledore's baby...as a baby. I have a story for you. A love story.
A love story about a barnyard mix rooster named Dumbledore’s Baby, or DB for short. Years ago, we hatched DB in early spring and thought he was a pullet for WAY too long. Turned out he was just a very round, kinda funny, slow-maturing, bottom-of-the-pecking order cockerel, part of a coop-less gang of four males that free-ranged our property from dawn until dusk, when they would tuck themselves to bed in our garage. During the day, they followed us EVERYWHERE as we tended the garden and built coops. We loved, loved, loved their company. When he hit four months old, DB started acting a little funny toward me. Stamping around near me, pecking near my toes. None of our roosters had ever been aggressive, but I was starting to feel a little nervous around DB. His energy around me was different...but I wasn’t 100% sure what was going on yet. 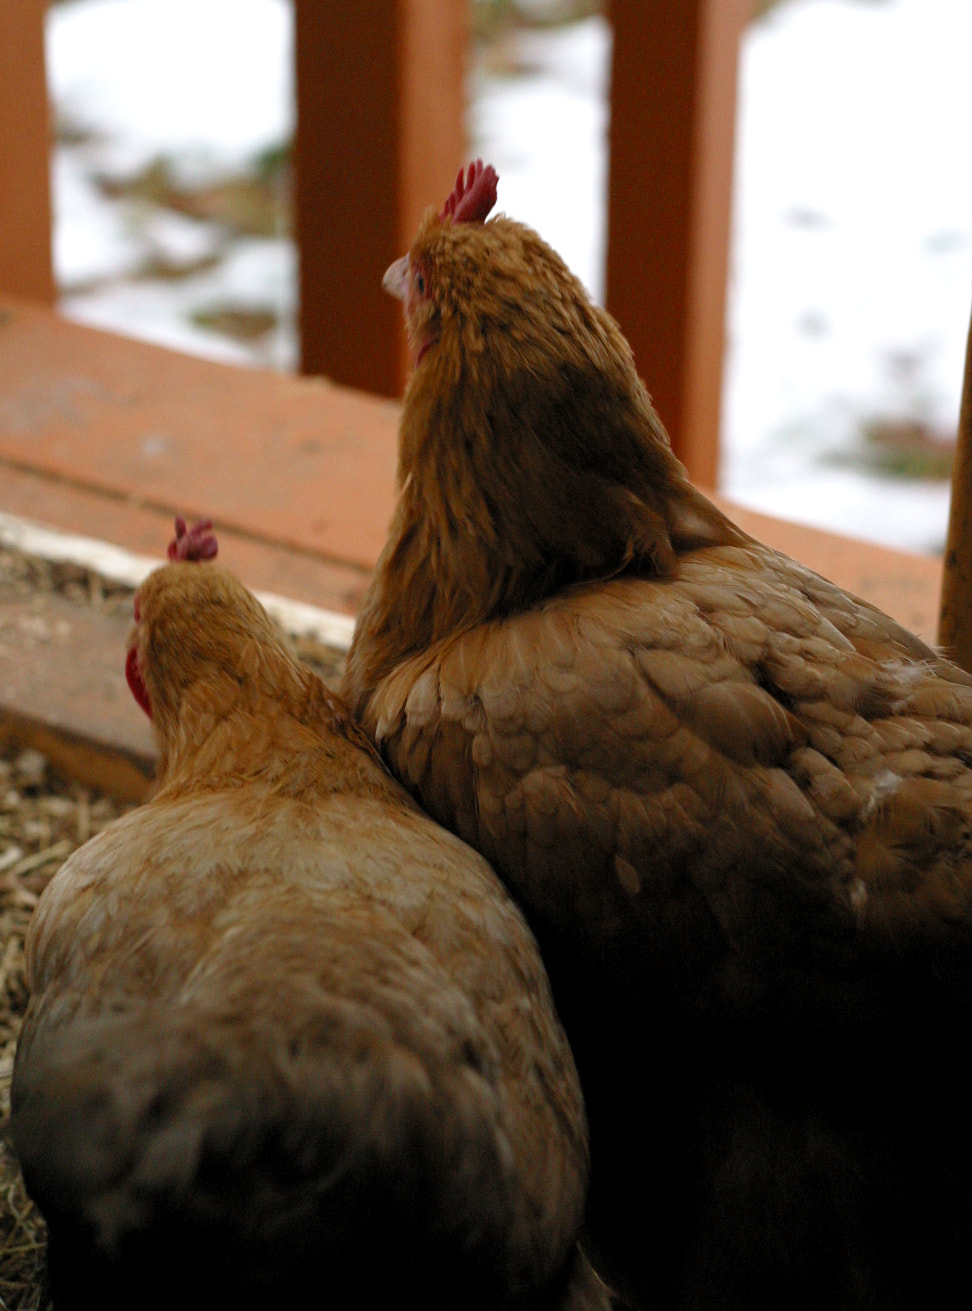
Two friends enjoying the view.
Caring for your chickens in winter can feel like a daunting task, especially if you are a newer chicken keeper. There are so many things to consider. How do you keep your flock’s water from freezing? How cold is too cold? Should you shut the coop up completely in cold weather? Add supplemental heat?
It’s easy to get worried about your chickens out there, braving the cold and snow. But chickens are tough, and with the right strategies, they can get through winter comfortably. In Western Massachusetts, where our farm is located, New England winters can be harsh and unpredictable, with snow and temperatures that dip into the negative. Despite all that, our chickens do just fine, as long as we prepare well and provide them the right care. In this post I’m going to talk about all aspects of chicken winter care, from coop building down to how to best keep your chicken’s toes warm at night (spoiler alert, these two things are actually related!). 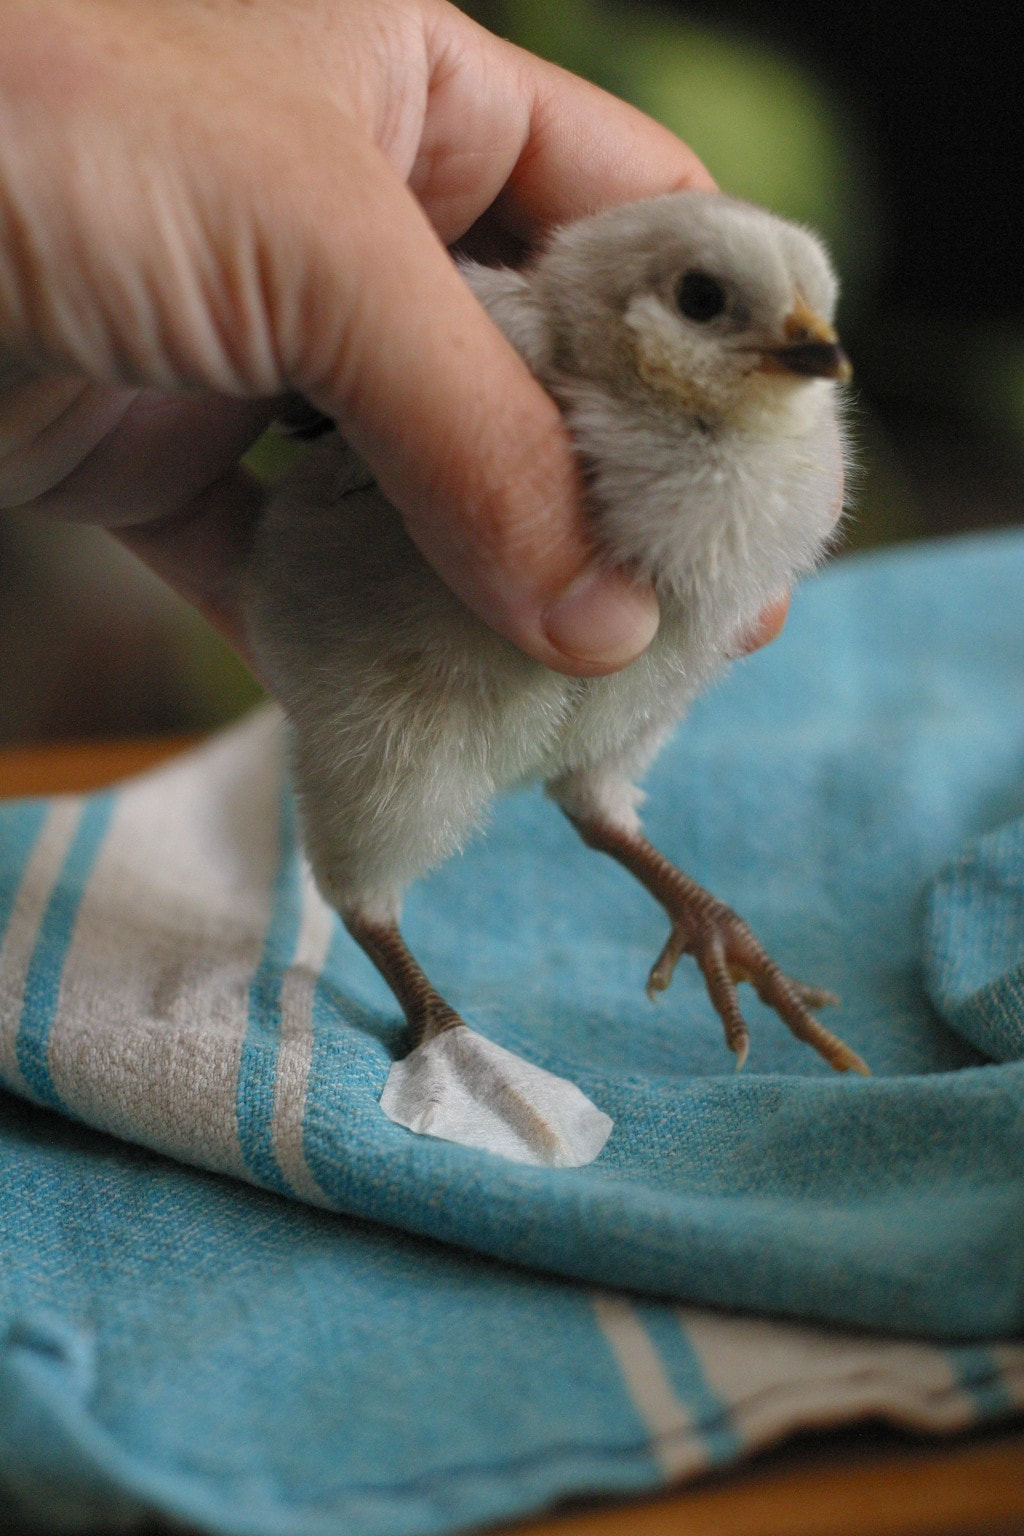 Using medical tape to treat a crooked toe. Have you ever wondered what medical supplies you need on hand in a chicken first aid kit? You want to be ready for everything from emergencies to common ailments, but it can be hard to sort through all the supplements and medications out there to figure out what works, what doesn’t, and what you actually need.
In this post, I’m going to go over everything I keep on hand to take care of our birds. Putting together a medical kit for your chickens is an investment of both time and money. I hope this peek into our medical supplies will help you save both, and be a starting point for you to put together your own chicken first aid kit. 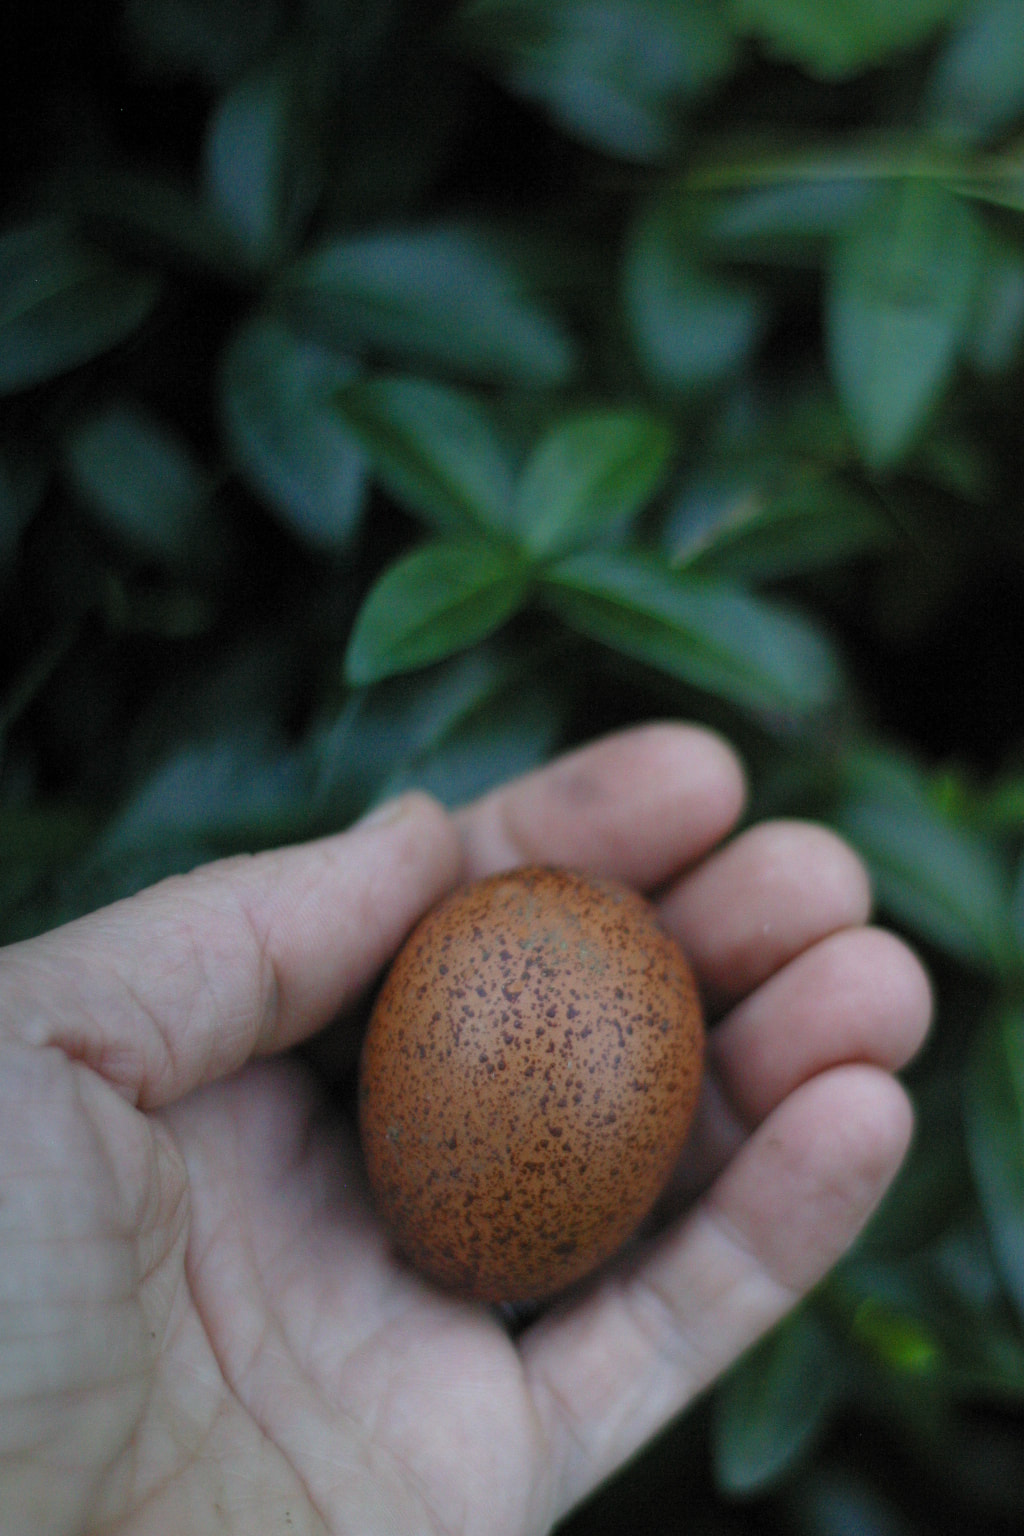 A speckled Marans egg: our first pullet egg of the year. This speckled Marans beauty was our first new layer egg of the year. These pullet eggs aren’t much to eat, and they shouldn’t be hatched, but damn, they are magical--tiny hints of what’s to come, and always a thrill after months of nurturing a bird from hatch to point of lay.
These eggs also mean it’s time to assess our first round of grow outs as we begin to make decisions about who will be part of our breeding programs next year. There’s a lot to think about with each bird. Assessing our growouts and breeding stock is a multi-layer, ongoing process. In this post, I’m going to chat about selective breeding and the things we take into consideration when making breeding decisions. This is by no means meant to be a comprehensive guide to breeding poultry--that is far too much for one blog post! Instead, I'll be sharing an overview that will give you some insight into everything we think about when making our breeding choices and what this process is like for us on our farm. |

Hi, I'm Maeg.Welcome to our blog! Categories
All
|
©
The Silver Fox Farm