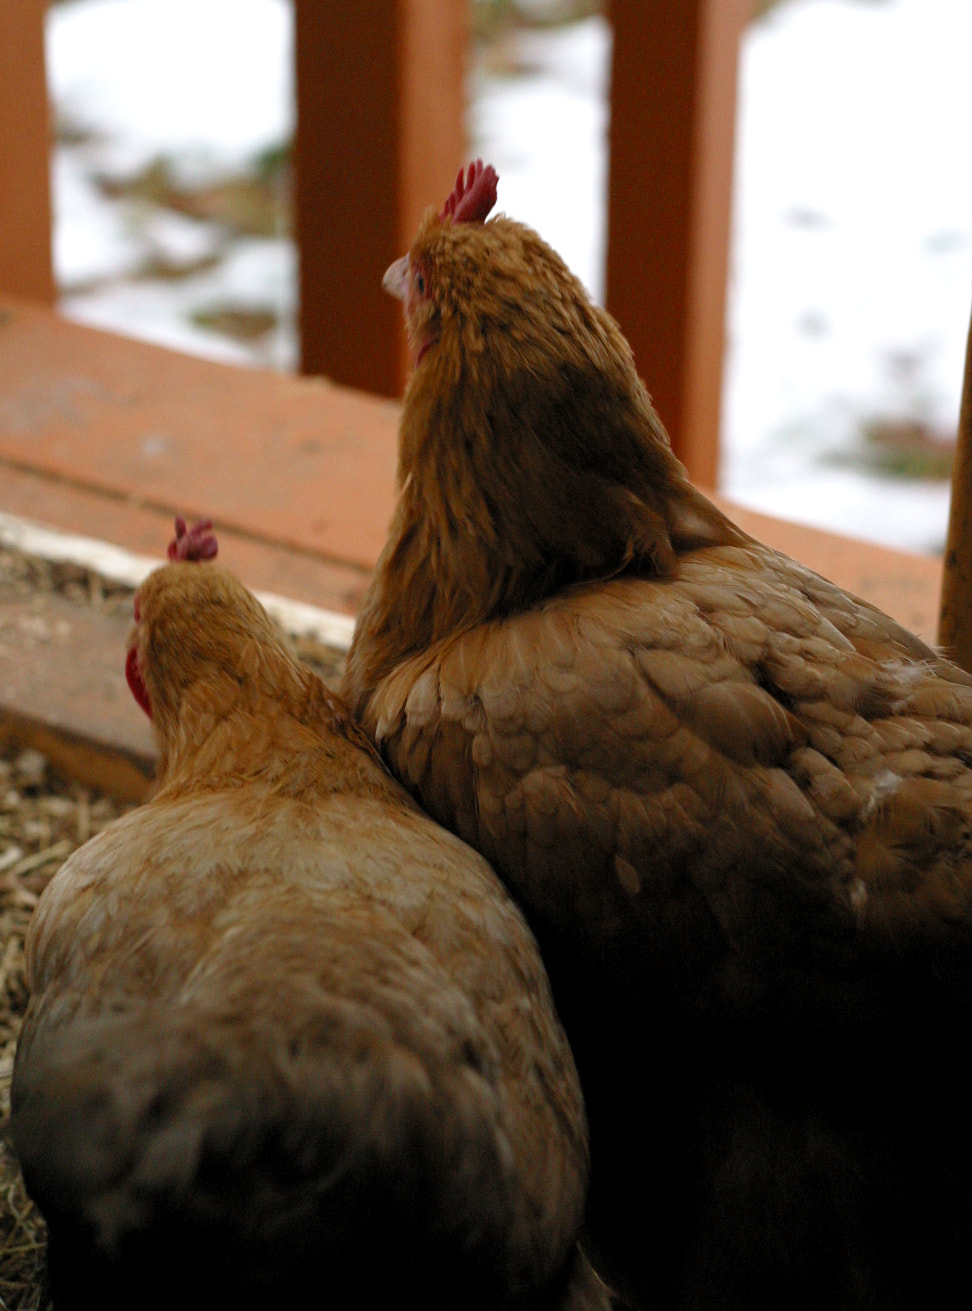
Two friends enjoying the view.
Caring for your chickens in winter can feel like a daunting task, especially if you are a newer chicken keeper. There are so many things to consider. How do you keep your flock’s water from freezing? How cold is too cold? Should you shut the coop up completely in cold weather? Add supplemental heat?
It’s easy to get worried about your chickens out there, braving the cold and snow. But chickens are tough, and with the right strategies, they can get through winter comfortably. In Western Massachusetts, where our farm is located, New England winters can be harsh and unpredictable, with snow and temperatures that dip into the negative. Despite all that, our chickens do just fine, as long as we prepare well and provide them the right care. In this post I’m going to talk about all aspects of chicken winter care, from coop building down to how to best keep your chicken’s toes warm at night (spoiler alert, these two things are actually related!).
I’ll be sharing from my own experience, with research from reputable sources. I wanted to create a comprehensive winter chicken care guide, so I dug deep to find the best information I could for this post. I learned a lot, and even busted a few myths I used to believe in the process.
Because this post contains so much information, it’s also long, so use the links below to navigate to different sections.
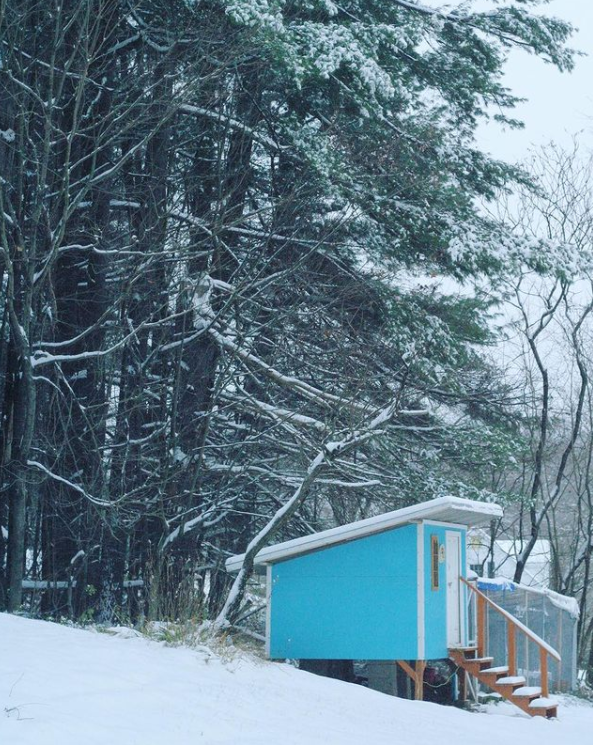
Winter coop--back when we just had one coop!
First, let’s consider the coop.
A well-built coop will take you a long way to being prepared for winter, if you have the proper square footage per bird, good ventilation, and no drafts. (Check out this post on chicken coop building for details on how we build our coops). The Right-Sized Coop You don’t want to overcrowd your birds, but too much space is also a problem, especially in the winter, as it will be harder for your birds to stay warm in a cavernous coop. The right amount of coop space for large fowl is 2-4 square feet per bird, and 1-2 square feet for bantams (this does not include run space). This gives them plenty of space while being small enough for their collective body heat to raise the temperature inside the coop. If your coop is way too big for your current flock, this is a great excuse to get more chickens before winter (ha!), but you could also find ways to fill the space in the coop: throw up a temporary wall, or use part of the coop to store shavings and hay bales. Drafts vs. Ventilation in the Coop In the winter, your coop should be draft free but have plenty of ventilation. Drafts are stray currents of air entering a space. In contrast, ventilation is an intentional system of air flow that brings in fresh air and sends out stale air. Coop ventilation is important because it removes gases (like ammonia from chicken feces) and moisture that build up in the coop. Excess ammonia can cause respiratory issues and even blindness in chickens, and too much moisture in the coop when temperatures are freezing can cause frostbite. Make sure your coop is draft free by plugging up any gaps or seams in your build while making sure your coop is properly ventilated. How to Ventilate Your Coop The purpose of ventilation is to remove stale air, gases, and moisture. To do that, you need a ventilation design that provides good air flow and cross-ventilation. This requires at least two ventilation holes. None of your ventilation holes should be at roosting height; you want to avoid cold air blowing directly on your birds. Assuming you can safely leave your pop door open at night (if it opens into a predator proof run, for example), and the door is below roosting height, then your pop door can function as one of your vents. Your other ventilation hole (or holes) should be as high as possible above your chickens’ heads when they are on the roost. You can also place two ventilation holes high above your birds’ heads, near the roof, on opposite sides of the coop. If you have a flat roof, place one hole on the lowest end of your roof and the other at the highest. If you have a pitched roof, place one hole near the highest point of each gable end. All ventilation holes should be securely covered with ¼” hardware cloth to keep out predators. 
The soffits on this coop are just hardware cloth, allowing for plenty of ventilation.
How Much Ventilation Does a Chicken Coop Need?
Exactly how much ventilation does your coop need? Well, this is a great question. The recommended guidelines out there vary quite a bit, from one square foot of ventilation per bird to one square foot of ventilation for every 10 square feet of coop space. Other experienced chicken keepers report that ¼ square foot per bird in winter is plenty for them. That is quite a range! Let’s dig into that issue. First, your coop should have more ventilation during the summer than in winter. This can be achieved with windows or openings that are open only during warm weather. For example, our main coop has a hardware cloth window that we board up for winter. We also install insulation for winter that covers part of our ventilation. As for actual numbers, I calculated how much ventilation our main coop has so I could compare it to the recommended ranges. Our main coop is 8 x 8 feet, with a flat roof. All of the soffits on that roof are made from hardware cloth, so that entire space provides ventilation. Plus we have a pop door and window. The soffits, along with the window and pop door, total 37 square feet of space. With about 20 birds in this coop at any given time, that’s almost two square feet of ventilation per bird in the summer! In the winter, the window is closed and half of the soffits are covered, which brings our total ventilation area to 17 square feet, or .85 square feet per bird. This has provided plenty of ventilation for our laying flock. Our flocks do well in the winter, and frostbite isn’t an issue. Additionally, we don’t have moist spots, condensation, or bad smells in our winter coops; all three of these are signs of poor ventilation. Good coop management, and finding other ways to reduce moisture and ammonia in the coop, will reduce the amount of ventilation you need, too. Keep your coop clean or layer fresh bedding often in a deep litter system. Using a droppings board and scraping it daily will greatly reduce the amount of moisture in your coop, as well. Bottom line: don’t sweat the exact square footage. Instead, provide as much ventilation as you reasonably can while protecting your birds from direct, cold air. Keep your coop clean and moisture at a minimum, and look for signs of insufficient ventilation and adjust as necessary. 
Skeptical about this snow.
Coop Insulation
If you live in a cold climate, adding insulation to your coop is a great idea. Whatever insulation you use, make sure it doesn’t block the ventilation you want to keep in winter. We use pieces of Poly-Iso, cut to fit, to insulate our coops during the winter, and put them into storage come spring. Poly-Iso is a foam-like insulation material that comes in large sheets, available at most building supply stores. If you use Poly-Iso or something similar, just make sure you place it beyond the reach of any curious chicken beaks, because they will eat it (this is also why I don’t recommend using fiberglass insulation in your coop, ever). We pop the insulation pieces into the ceiling of our largest coop, where the chickens can’t reach. For our small coops, we tuck it into a space between the roofing pieces and the predator proof hardware cloth that makes up the roof. Depending on the design of your coop, you could attach insulation to the outside of the coop, or place it inside and cover it with a material that’s safe for chickens to peck at, like cardboard. Adding extra bedding to the coop will provide more warmth in the winter, too. We use pine shavings. In early fall, we DEEP clean the coop and add an extra thick layer of pine shavings to the floor. We continue to add layers of pine shavings until spring, when we deep clean again. Here are some other ventilation ideas:
Winterizing a Chicken Tractor Do your chickens live in a mobile chicken tractor instead of a stationery coop? I’m going to assume if you live in an area that experiences cold weather that your tractor has an enclosed living space. For winter, everything we talked about in terms of coop space, ventilation, and insulation also applies to tractors. However, you’ll definitely want to do a few extra things to prepare your tractor for winter before the ground freezes. During the cold months, our tractors stay put, and we essentially convert them into small coops with attached runs. First, you need to find a good, dry spot to park your tractor for the winter. Observe your land during the spring and summer and avoid placing your tractor in areas where water collects. Throughout the winter, you’ll experience freezes, snows, and thaws, and you don’t want your birds hanging out in mud and puddles during the warm spells. Since you won’t be moving your tractor for a while, nighttime predators will have plenty of opportunities to visit at night and plan a break-in. Make sure to predator proof your tractor before winter. We like to add hardware cloth skirting, secured with landscape stakes, to each tractor once they are parked for winter, to thwart digging predators. Snow Proof Your Chicken Run If the runs of your coops or tractors aren’t covered, fall is the perfect time to make that happen. Adding roofing panels or tarps to keep out snow will give your birds more space to play when snow is on the ground, and save you time and effort shoveling. Should You Add Heat to the Chicken Coop During the Winter?
Should you add a heater to your chicken coop during the winter?
The short answer is no. I know it’s tempting to pamper your chickens with a space heater or heat lamp in the coop during the winter, but it’s just not a good idea. Adding heat to the coop only makes it harder for your chickens to acclimate to winter temperatures, and if that heat source were to suddenly be taken away--from a power outage, for example--the shock of that temperature change would be more detrimental to them than the cold itself. Heaters and heat lamps are also a fire hazard in the coop. You could lose your coop or barn, your flock, or worse. It’s just not worth the risk. Chickens, especially cold hardy breeds, can handle pretty tough temperatures. In Western MA, where we live, our average low temperatures in January and February are in the teens, and occasionally we hit zero or below. It gets cold here! But our birds do just fine. Their body heat keeps their coop warmer than the outside, and proper ventilation, insulation, and coop management keeps them warm and healthy, too. 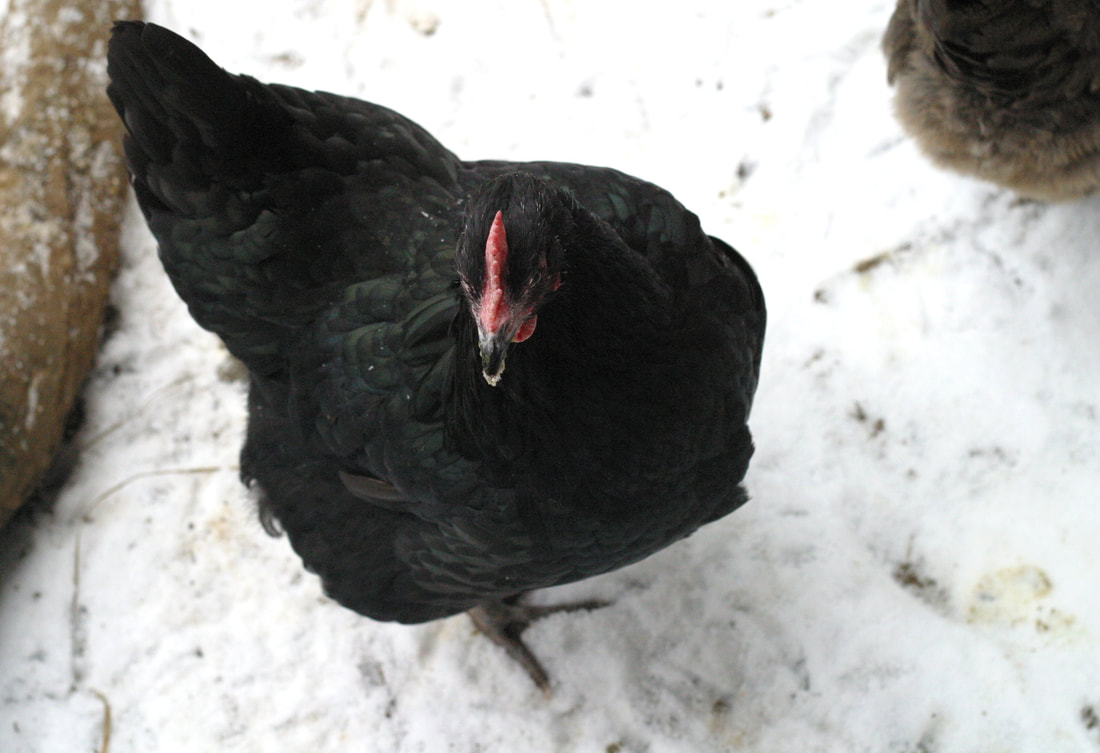
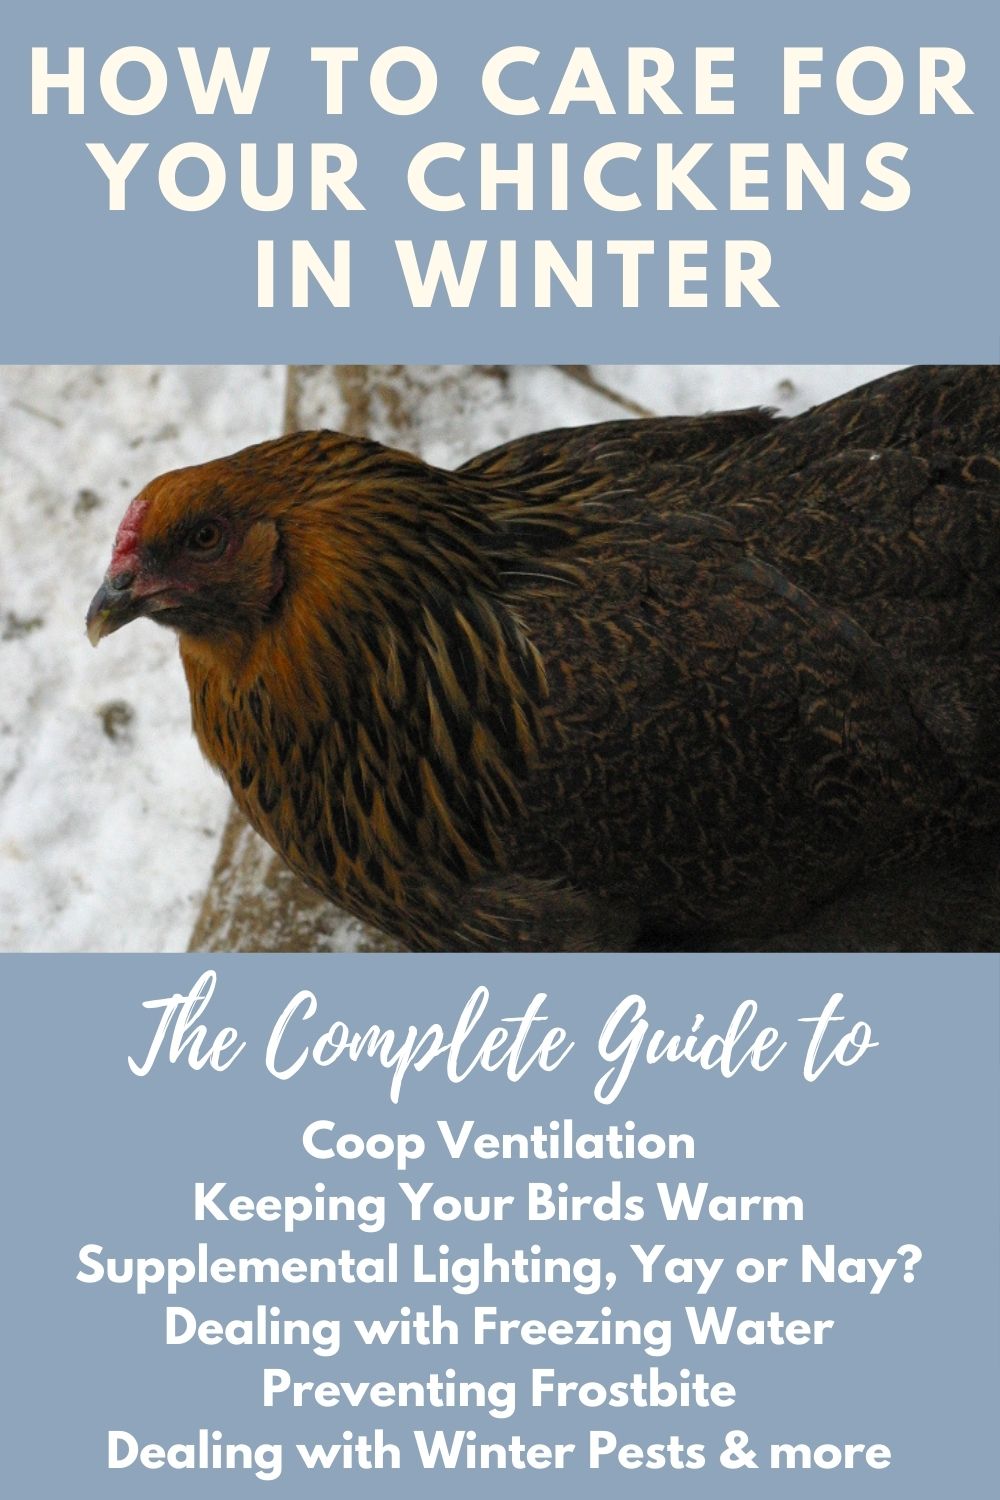
Doing just fine, even in the cold.
Of course, I’m talking about adult birds. What should you do if you’ve hatched in the fall, and your chicks are fully feathered by winter? This is a great question that was posed to me recently. As someone who only hatches in the spring, I don’t have direct experience with this issue. With spring chicks, the rule of thumb is that they can move off of the heat lamp and outside once they are fully feathered, around 6 weeks old, and outdoor temperatures stay above 60 degrees.
Since being fully feathered allows chicks to regulate their own temperature, it could be possible to slowly acclimate them to cold weather after this point, but I wasn’t able to find any reputable sources discussing how to do this, so I’m not convinced. I think this would depend on how slowly you acclimate them and how low temperatures get in your area (40 degree lows are very different from hitting zero!). Personally, I wouldn’t move juveniles to the coop during winter, but would keep them in an attached garage with daytime field trips on warmer days until the worst of winter is over. Even if juvenile chicks could make it through winter outside, an important part of keeping the flock healthy is minimizing stress. If possible, avoid stacking stressor upon stressor. Winter and maturation, or coming in to lay, are both stressors, and exposing your birds to both at once can weaken them and increase their chances of disease. For this reason alone, I’d be hesitant to move young birds outside in winter. If you are a cold climate chicken keeper and have a successful strategy for acclimating young birds to the cold and integrating them into the coop during winter without a heat source, please feel free to share your experience in the comments below. 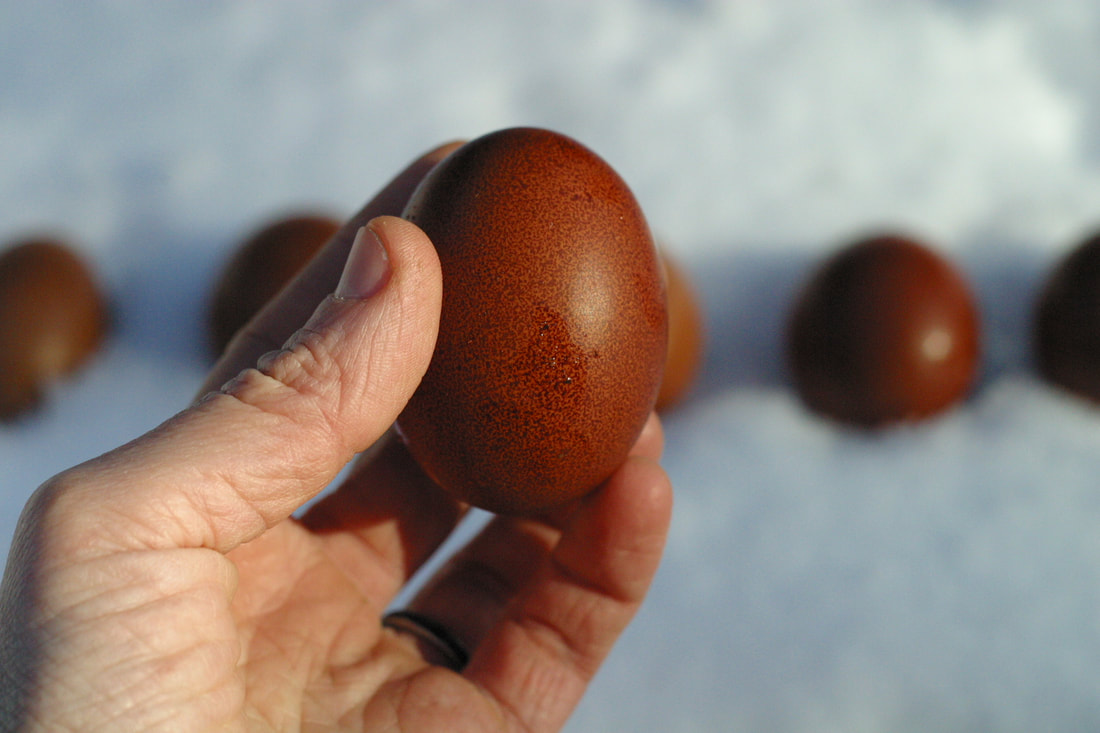
New Marans layers going strong through winter.
Supplemental Lighting in Winter
Whew! For all this effort winterizing, you should get eggs, right?
Well, maybe. Shorter autumn day length triggers chickens into molting to prepare for winter. During the molt, hens will lose their feathers and grow a fresh new set for winter. Feathers are mostly protein, so chickens don’t have the capacity to produce new feathers and keep laying at the same rate. You’ll see egg production drop off in the fall, along with your flock’s feathers. (Fun fact: hens at the equator molt, too. Even though day length doesn’t change, birds are sensitive to other seasonal indicators, such as the intensity of light, which brings on molting.) During the winter, hens continue to slow down and sometimes even stop their egg production. Light exposure and reproductive hormone production are linked; with less light comes less eggs. In order to keep up egg production during the winter months, when laying naturally slows down, a lot of chicken keepers provide supplemental light in the coop. Is Supplemental Lighting Safe for Your Flock? Providing supplemental light in the coop can keep egg production up during the winter, but is this a good idea for your birds? Let’s look at some of the arguments against supplemental light. The Running Out of Eggs Theory You may have heard that supplemental lighting will shorten your birds’ egg-laying years, but don’t worry, your chickens won’t run out of eggs, even if they lay through every winter. Like humans, chickens are born with far more egg cells than they could possibly use in their lifetime. It’s estimated that chicks hatch with 175,000 to 480,000 immature egg cells. While this number decreases significantly over time as they age, chickens don’t live long enough to run out of eggs (some record-setting hens in the past have peaked at around 1,200 eggs in their lifetime). Laying naturally drops off after three years, and reproduction eventually stops due to old age, not a lack of eggs. The Shorter Lifespan Theory You may have also heard that providing supplemental light can shorten your birds’ lifespan. I haven’t found any academic papers, studies, or university extension articles to support this, but I’m not convinced that it’s untrue. What I did find was a single quote from a vet in a blog stating that this claim was a myth, and supplemental lights do not shorten a chicken’s lifespan. I also had a conversation with fellow poultry breeder Vanessa Takmazian of May Blooms Acreage in British Columbia. She’s had many deep conversations on this topic with her own vet, who believes that supplemental light does, in fact, shorten a hen’s lifespan. Vanessa pointed me to a study done on Leghorn hens which explored a possible link between constant ovulation and the development of ovarian cancer in hens. The study was conducted by cancer prevention scientists using animal models to consider how frequent ovulation might affect human cancer development. Since industrial level farms don’t keep hens around past peak productivity, I can see why no major long term agricultural studies on this issue have been done, at least that I’m aware of. While there’s no hard evidence that supplemental lighting is damaging to hens, I haven’t found any proof that it’s perfectly safe, either. Personally, we’ve erred on the side of caution and chose not to provide supplemental light in our coops. In the past, before we planned better, this meant slinking to the grocery store for eggs once or twice in January. While the drop in egg production is hard, I think it’s worth it to support our flock's natural rhythms. I’ve always thought it strange to live in a society that continues to go full speed all winter while the natural world rests around us, so I like giving our hens their natural egg laying sabbatical. Still, supplemental lighting is a personal choice. If you decide to use extra lighting in winter, I understand. Taking care of and feeding your birds with no food in return is tough, and depending on your budget can be a real issue. 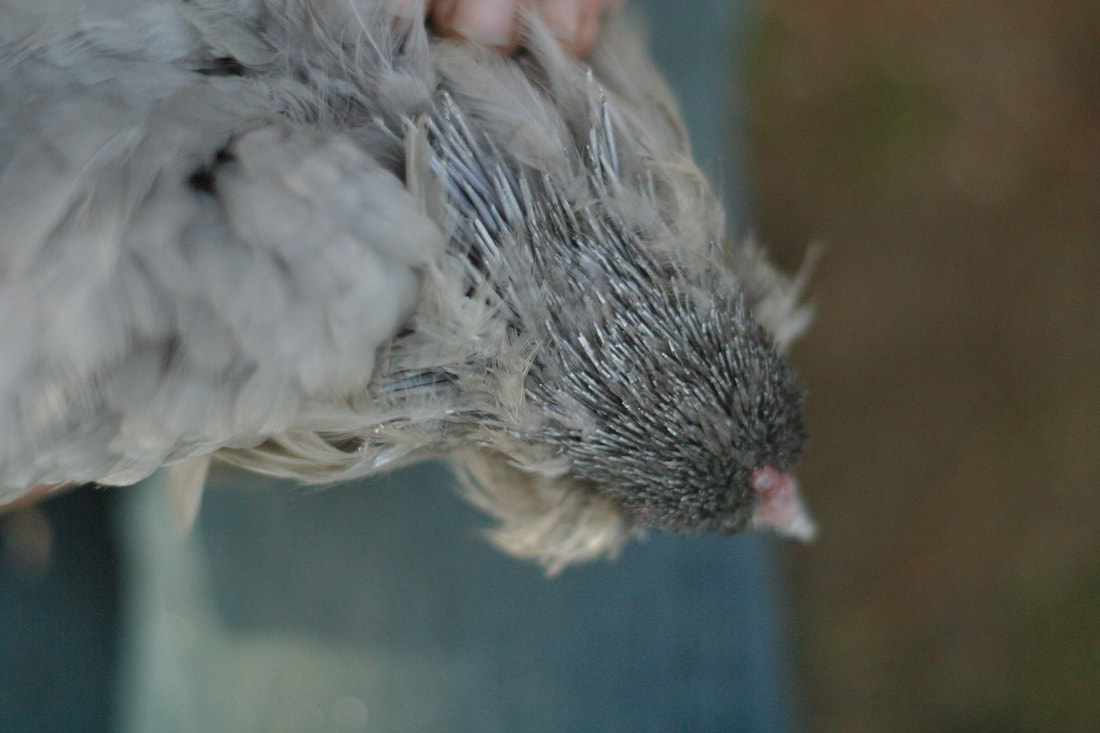
A hen in mid-molt.
Guidelines for Providing Supplemental Lighting
If you do decide to use supplemental lighting in your chicken coop during the winter, it’s important to follow certain guidelines so that the whole process is easy on your flock. If done wrong, artificial light can be a short term stressor in an already difficult season. If you do use artificial light in the coop, follow these guidelines: First, don’t provide extra light if you have pullets in your flock that are less than 20 weeks old. The extra light can push them to start laying before they are physically ready to do so. You may want to push this to 22 weeks if you are raising heritage breeds that mature more slowly. Learn more about this here and here. Add the extra light to the morning hours, not the evening. Chickens need the gradual decrease in light that a sunset provides; this signals to them that it’s time to find the roost and get cozy for the night. If your timed lighting system clicks off in the evening, your birds will find themselves suddenly shrouded in darkness away from their roost. This will result in panic, stress, and possibly injury as your birds scramble to get settled. To keep laying through the winter, chickens need 14-16 hours of light per day. Less than this, and laying will drop off; more than this, and your hens will be stressed and under slept. Use a timer to ensure consistency; if you forget or are off, your hens will feel it. Set your timer by counting 14-16 hours backward from sunset. Recalculate and reset your timer every few weeks. The type of light you choose should be soft, just enough for your chickens to see by. A string of Christmas lights would work. A 25-40 watt bulb is sufficient. Don’t use fluorescent lighting or anything too harsh or bright, and for safety reasons, don’t use a heat lamp. Plan Ahead for Eggs All Winter You should get some eggs through the winter, just quite a bit less. If you don’t want to add supplemental lighting to the coop without cutting back on omelets, you have a few options: Stock up. Clean, unwashed eggs can store for 2-3 weeks at room temperature, and both washed and unwashed eggs can last for up to 2-3 months in the fridge. Stock up while your ladies are still laying to get through the winter months. Do some chicken math! Consider adding a few birds to your flock every year. Since chickens don’t have their first adult molt until 16-18 months old, pullets that hatch in the spring and come into lay before winter often keep laying right through the coldest, darkest months of the year. Preserve eggs. Eggs can be pickled or frozen to enjoy all winter long. Some folks I know have even tried waterglassing eggs, though with mixed results (waterglassing is an old fashioned method of preserving eggs in a pickling lime and water solution). 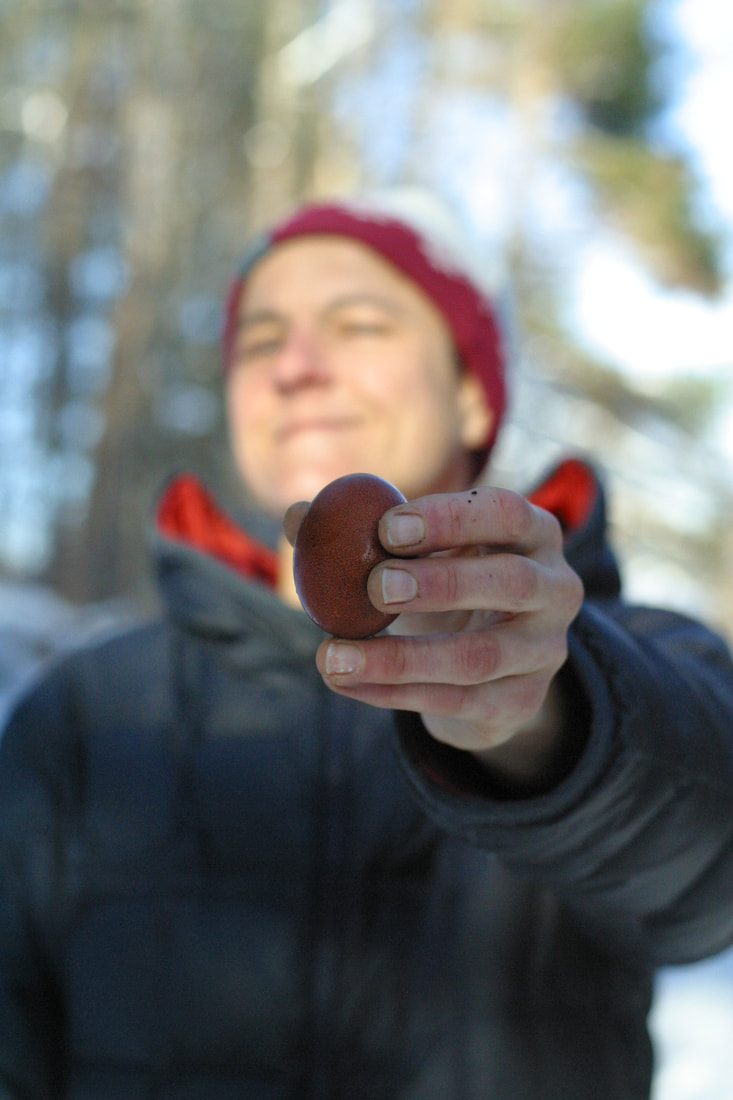
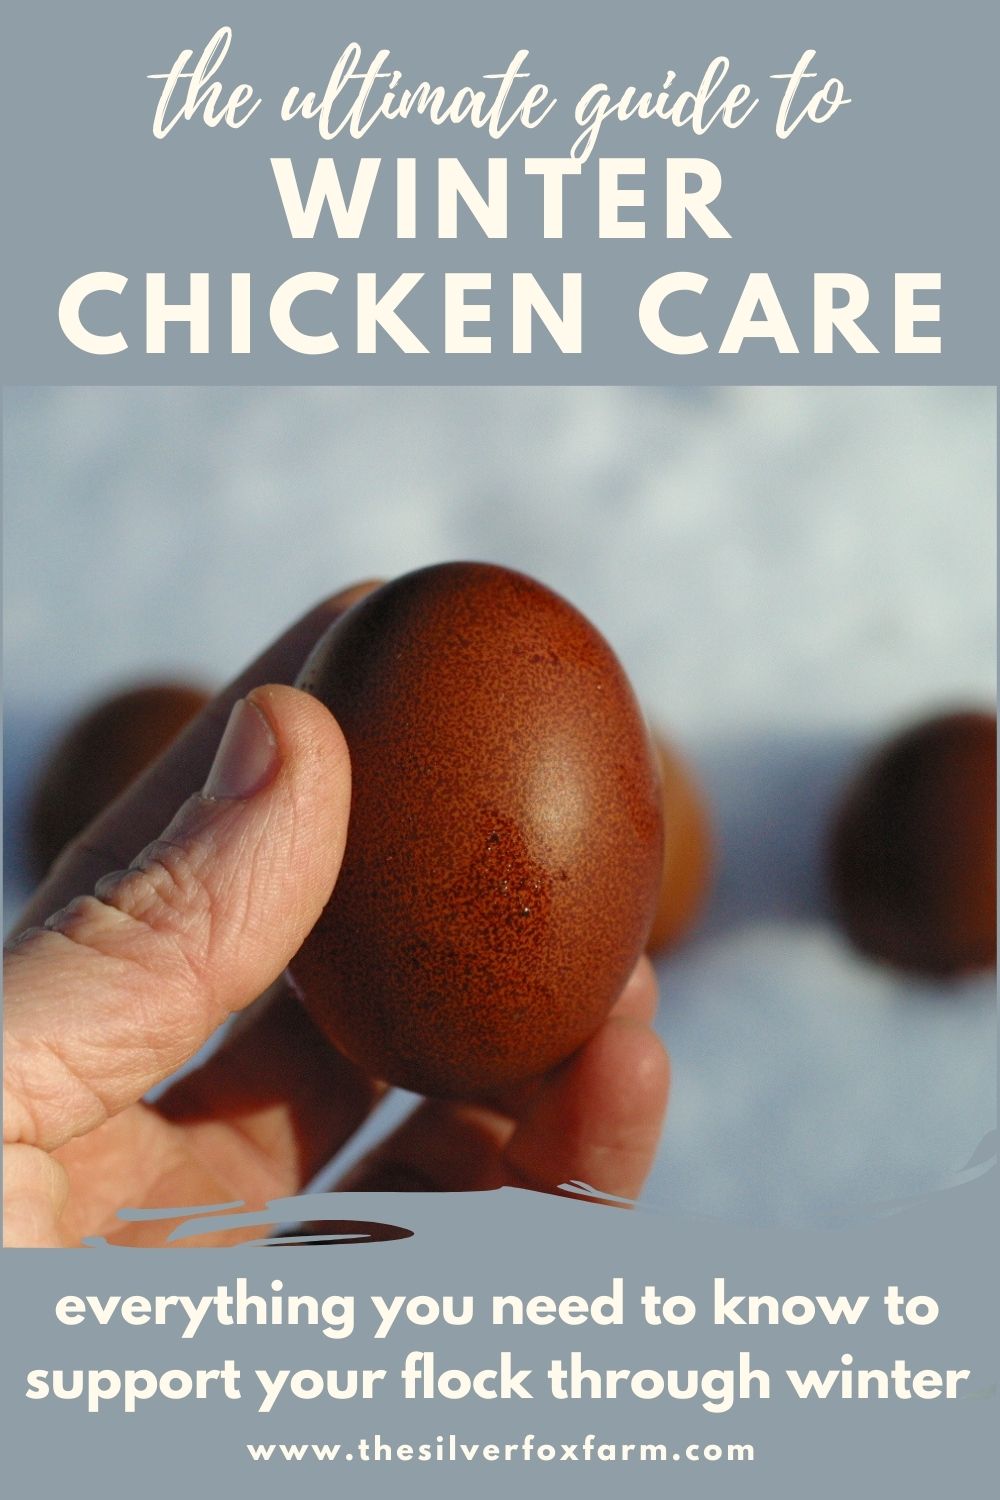
A Marans pullet egg.
How to Keep Your Chickens’ Water from Freezing in Winter
The simplest way to keep your chickens’ water from freezing in the winter is to purchase a heated waterer. You can purchase a two-gallon heated nipple waterer for around $50. I am partial to this model, or any model that you can fill from the top. You’ll also need an outdoor extension cord if your coop isn’t already wired. It’s definitely an investment, but it’s easier than switching out multiple frozen water buckets throughout the day.
A heated waterer uses very little electricity, so it won’t be a burden on your electric bill. They heat the water to just above freezing, so they aren’t a fire hazard in the same way as a heat lamp. For safety, though, it’s recommended that you plug the waterer/extension cord into a GFI outlet, just as you would any kitchen appliance. One drawback of the heated waterers is that they don’t last forever (but really, what does? Other than my love for my wife, of course). We’ve gotten years of use from most of ours, but occasionally one busts. If you use them, check them daily as you do chicken chores to make sure they are still working and the water hasn’t frozen, either from a faulty waterer or an issue with your wiring or extension cord setup. A cheaper alternative to the heated waterer would be a heated dog bowl, but a nipple waterer will keep your birds’ water cleaner. Another tempting alternative to a heated chicken waterer is an aquatic heater, the kind that you would use in an aquarium. However, these can be dangerous. They are intended for indoor use, so they tend to fail in freezing outdoor temperatures. Additionally, they are often made of glass and can burst when used outside, electrifying your flock’s water when they do. Of course, if you are able to be home, and you only have one or two coops, bringing a fresh water bucket out a couple times a day while you are doing chores may be a worthwhile trade off to save money on new equipment. 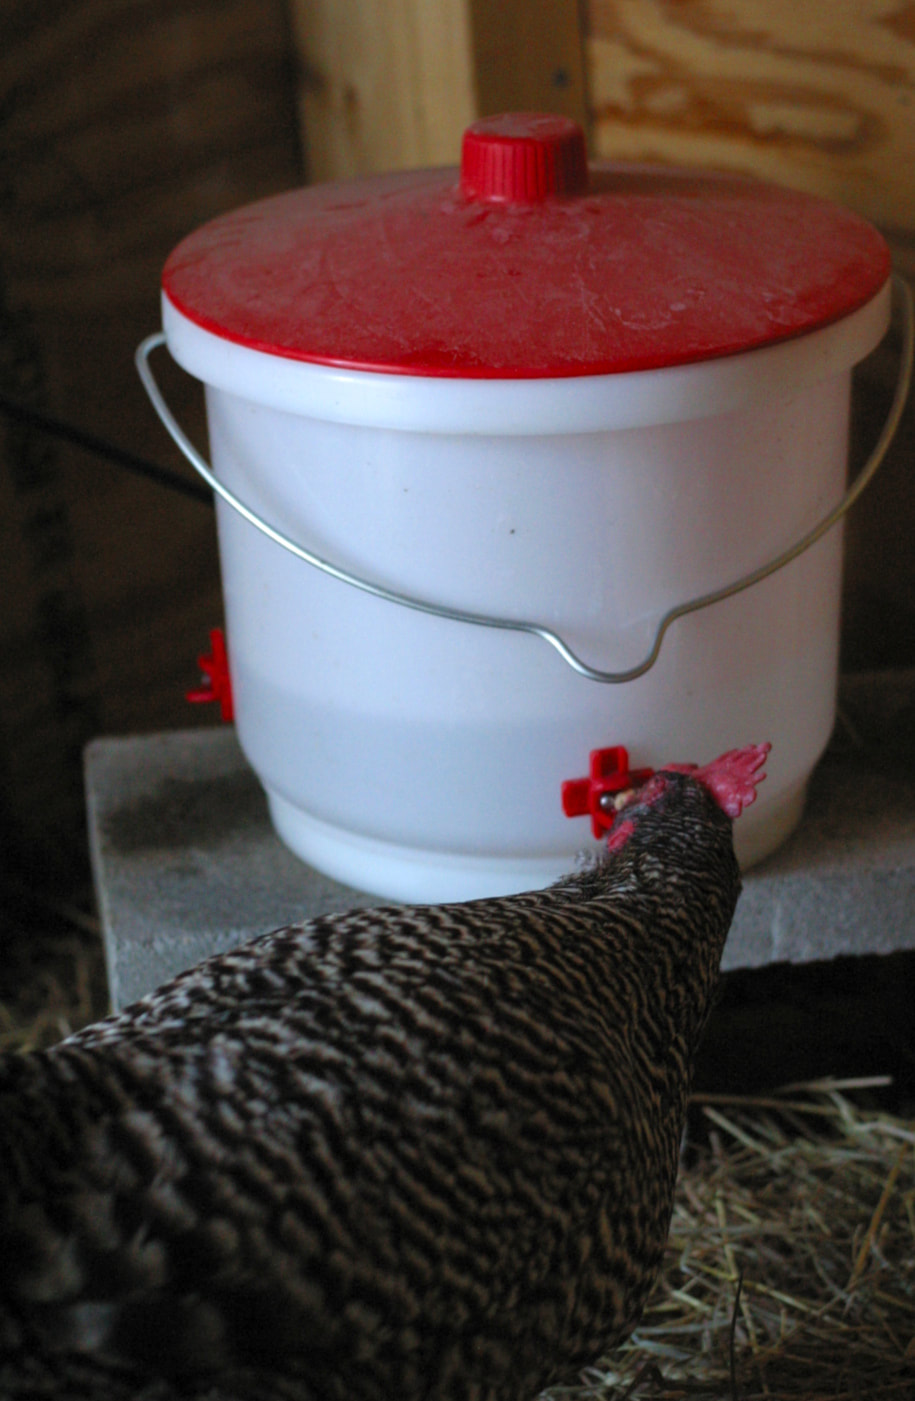
Heated waterers are a safe and easy way to provide fresh water in the winter.
How to Prevent and Treat Frostbite
The secret to preventing frostbite in your chickens during cold weather is to keep them dry. Excess moisture inside the coop is the real issue that causes frostbite, not the cold.
Here are some ways to keep the inside of your coop dry and prevent frostbite:
Other frostbite prevention tips: The right roost will protect your birds’ toes from frostbite. A two by four on its side is ideal, because your chickens can roost while their feet lay completely flat, covered by feathers. On a narrower roost, your chickens will have to curl their feet to grip the roost and stay balanced. I used to think that applying petroleum jelly to our chickens’ combs prevented frostbite, but in the course of researching this post, that myth has been busted! Petroleum jelly doesn’t protect chickens from frostbite, and there’s some evidence it may even make it worse. Use a nipple waterer instead of a trough. This way, your birds will get less water on their wattles as they drink. Wet wattles are more prone to frostbite in freezing temperatures. How to Recognize and Treat Frostbite Frostbite in chickens can affect their combs, toes, and wattles, and range from mild to severe in intensity. How badly a chicken gets frostbite depends on factors such as temperature, length of exposure, windchill, and the age and health of the bird. In cases of mild frostbite, sometimes called frostnip, only the surface layer of skin is affected. The bird’s comb (typically just the tips of the blades) will turn off white or white; feet will turn red. Moderate frostbite is more severe, but the deepest tissues are still unaffected. You might see the tips of the comb turn off white with small areas of black discoloration. In severe frostbite, the tissue is frozen all the way through and often turns swollen and black. In severe cases, chickens can lose toes or the tops of their combs, or parts of their wattles. What to do if your chicken gets frostbite:
A severe case of frostbite.
Winter Greens, Grits, and Feed
During the warm weather, it’s easy to take things like greens, grits, and feed for granted. During the winter, pay extra attention to providing these things for your flock to help them get through the cold months.
Providing Winter Greens for the Flock Winter in New England is tough on humans and birds alike, because the greens are gone! If you can, find ways to supplement your chickens’ diet with fresh greens. This will support their health through the bleak winter months when there’s no pasture or yard to forage. How and if you do this really depends on your energy level and budget. One option is to occasionally sprout grains or legumes for your chickens. Lentils are a great choice for sprouting because they are less likely to get moldy during the process than other grains. Plus, they are relatively inexpensive and easy to find. You can purchase some inexpensive bulk bags of lettuce or greens, or hang cabbages for the flock to peck at. And of course, vegetable scraps from your own kitchen are a great way to support your flock. Just make sure not to feed your flock avocado, uncooked or unsprouted beans, onions, potato tubers or skins, or stone fruit pits. Provide Grit in Winter Chickens tend to get enough grit to help them digest their feed from their environment; they will ingest small rocks, sand, and pebbles on their own. But in the winter, with the ground frozen, that’s hard to do. Provide free choice grit for your birds to help them get the most from their feed. Grit comes in chick, grower, and layer sizes, so make sure to choose the right option for your flock. Feed, Scratch Grains, and Warmth Make sure to keep feeders full during the winter. You birds need more calories to keep them warm during the cold months, so being without food is hard on them. If a chicken goes without feed for 24 hours, its internal temperature will drop 2.5℉. (Of course, if you are dealing with a rodent issue, it’s okay to remove the feeder at night and replace it early in the morning, more below). A handful of scratch grains in the evening will give your birds a little extra energy to help them stay warm through the coldest nights. Make sure this stays just a treat, since they should be getting most of their nutrition from a balanced feed. 
Black Copper Marans eggs.
Keeping Pests out of the Winter Coop: Dealing with Rodents, Mites, and Lice
The warm, cozy, dry, well ventilated coop you’ve built and filled with fresh food and water is inviting to your chickens--as well as rodents, mites, and lice. During the winter, your flock will be more vulnerable to all of these pests, so you’ll need to discourage them.
Preventing a Rodent Infestation Rodents can tunnel and fit through impossibly small holes, so even a predator-proof coop can be vulnerable to them. Rodents carry lice and mites, plus diseases that could harm you and your chickens, so you don’t want them around. Rats have also been known to chew electrical wires, eat eggs, chicks, and your chickens’ toes while they sleep on the roost. The best way to discourage rodents from bothering your chickens is to make the coop unappealing for them. This means removing food access, and possibly water, too. Using a rodent proof feeder or removing feeders after your chickens roost for the night is the best way to discourage rodents from visiting your coop. If you suspect a rodent issue, removing the water at night will also help, as rodents will enter the coop to drink (plus this has the added benefit of reducing moisture levels in the coop). Placing traps around the perimeter of the coop will cut down the population and also give you a sense of whether rodents are hanging around the coop. Keep in mind that it can take a few days before a rodent decides to try the trap, so be persistent. Open traps can also catch wild birds or your cat’s toes, so place traps under a box with a hole in it to decrease the chances of catching the wrong animal. Don’t use rat or mouse poison. Chickens aren’t vegetarians, so if a rodent is poisoned and dies where your chicken can eat it, they may die from secondary poisoning. If the rodent dies where wildlife such as birds of prey can eat it, that wild animal can also die from eating the dead rodent. Signs of Rodents Rodents come out during the night, so even if you don’t see them during the day, they may be lurking. Look for feces, or a sudden increase in food intake. If rodents are entering the coop at night, you may observe that your chickens are agitated and hesitant to roost at bedtime. Also look for tunnels around the perimeter of the coop. If you see rats on your property during the day, you’ve got a serious infestation on your hands. Daytime rats are a sign that the rat population is large; dominant rats will feed at night and the rest will be forced to stay up during the day to look for food. Taking preventative measures will help you avoid a rodent issue getting to this point.
Dealing with Mites and Lice
Rodents and wild birds can expose your flock to lice and mites. Since any chickens that live outdoors have the potential to pick up these bugs, there’s no shame in finding them on your flock. With good management, their presence can be kept to a minimum. What Are Lice and Mites? Lice and mites are both external parasites. Lice need to live on a bird in order to survive, and they feed on feathers and dead skin. They can cause stress, a drop in egg production, and damaged feathers as your birds scratch and peck at themselves. Mites bite and generally suck birds’ blood. They can live on or off a bird. Some mite species hide out in the coop during the day, coming out to feed at night. Since they draw blood, mites can cause anemia and if left unchecked, even death. The species of mites and lice that attack chickens do not feed off humans, so even if you find some crawling on you or biting you after you handle your birds, rest assured that they cannot live off of you, and you won’t become infested yourself. Signs of Lice and Mites Mites and lice can cause feather damage, decreased egg production, reduced fertility, lethargy, and irritation. It’s best to catch the issue early, before the signs are obvious, so physically inspect your birds at least monthly for lice and mites. The mostly likely place to find lice on your chicken is below the vent. You’ll also want to check under the wings, on the neck, and under the beak (especially if your birds have beards and muffs). Look for crawling lice and well as lice egg deposits, which are groups of tiny white eggs matted at the base of a feather. If you find egg deposits, pull these feathers. Some mites, like the red mite, hide themselves away in the coop during the day and emerge to feed at night. If your chickens are hesitant to roost at night, it could be due to these mites. Visit the coop after dark to check; the mites will appear as tiny specks roving over the roost or your birds. Red mites are less of an issue in cold weather. The most common mite in the winter is the northern fowl mite. These mites eat blood and live their entire life on a chicken, so they can do even more damage than red mites. Northern fowl mites are tiny and hard to see, so while you might find them on your chicken during a physical examination, it’s more likely that you’ll spot the damage they leave in their wake: dark vent feathers and scabby, blackened skin from their bites. Scaly leg mites are another common species affecting chickens. These mites burrow under the scales on a chicken’s feet and shanks. If your chickens have raised or crusty scales, this is an indication of scaly leg mites. Treat this particular mite by thoroughly coating the shanks with petroleum jelly (it IS good for something, just not frostbite!) once a week until the scales appear normal. This will smother the mites. 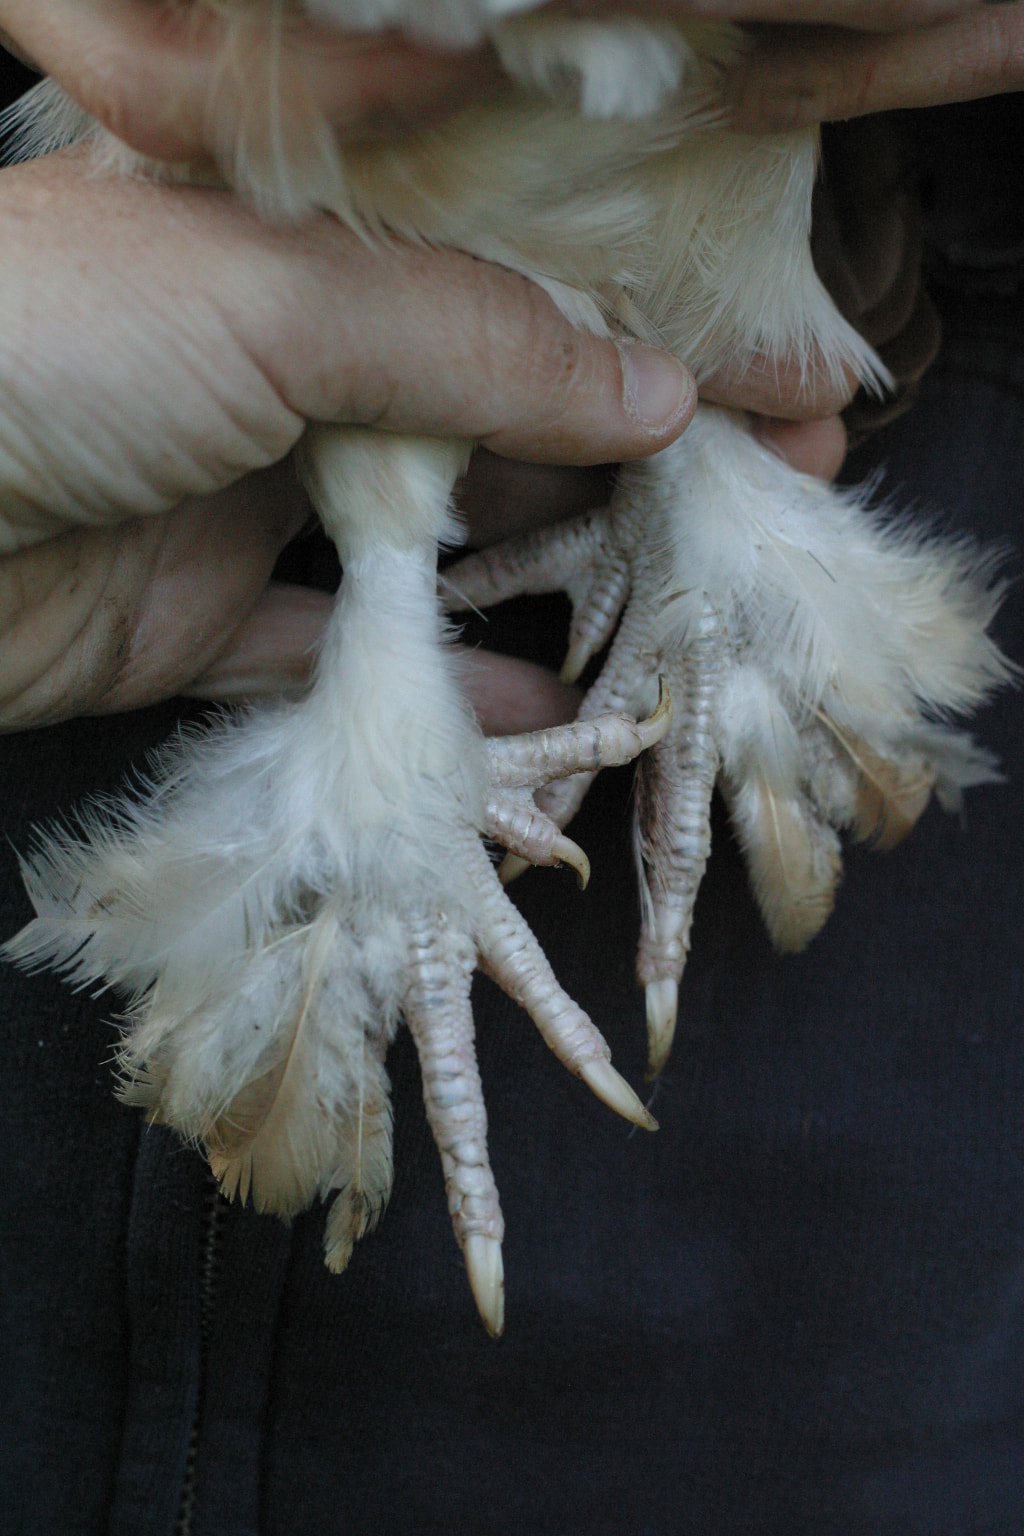
Breeds with feathered shanks and toes are more vulnerable to scaley leg mites.
Lice and Mite Prevention and Treatment
Dust Baths Other than frequent checks, the best way to help your chickens ward off external parasites is to provide a dust bath all year round, and especially in winter. If your birds normally create their own soil dust baths around the yard in warm weather, they’ll need your help in winter, when the ground is frozen. Their dust bath could be as simple as a plastic tub, kiddie pool, or a wooden frame you build yourself. The bath should be about a foot deep to hold in enough soil, and fit at least one chicken comfortably. If you have the space, make it bigger, since dust bathing is often a social hour for chickens. Place your dust bath in the run, not the coop, to limit the dust inhalation exposure to your flock. Chickens have effectively dust bathed for centuries in just dry soil. But if you like, you can also mix scoops of sand or wood ash into the dust bath. To save money, use soil from your own property. In the fall, before the ground freezes, we set aside soil in 5 gallon buckets to use in our dust baths. Coop Cleaning and Diatomaceous Earth Thoroughly cleaning the coop regularly will help mitigate lice and mite issues (and a myriad other chicken issues, too!). While cleaning, placing a layer of food grade diatomaceous earth (DE) underneath the coop litter, or rubbing DE into the roost, can also kill off these pests. DE use in the coop is a bit controversial, but many chicken keepers swear by it. We use it rarely, out of an abundance of caution and concern for our birds’ respiratory system. If you are comfortable using DE, you can also add a scoop to the dust bath. If you do use DE in your coops, follow these guidelines: Use food grade DE only. Food grade DE is considered safe for home and garden use, but like any small particle, it can irritate the respiratory system, and long term exposure might be an issue. Target pests. Because DE kills by lacerating the exoskeletons of insects and arachnids, it should be used in small amounts, exactly where it’s needed, in order to avoid harming beneficial insects as well as pests. Don’t place DE near flowering plants that attract bees, for example. Protect yourself and your flock. Wear a mask and goggles to avoid irritating your lungs or eyes, and don’t allow your flock back into the coop until the DE dust has settled. Make Your Own Lice Spray You can easily make an effective, non-toxic mite and lice spray at home, for a fraction of the cost of similar products on the market. Just mix 1 tablespoon food grade potassium sorbate powder with 1 tablespoon unscented liquid castile soap in a 16 oz. spray bottle. Fill the bottle with water and shake thoroughly. While your chickens are on the roost at night, spray the mixture under their wings and vents. Apply every other day for one week, and then once more a week after the last application. Make sure not to spray on cold nights where the temperatures dip below 20 degrees. (Credit where credit is due: Kelsey Jorissen Olesen of Green Willow Homestead developed this recipe, and it’s definitely helped us more than once!). Chicken Tubby Time If spraying all your birds multiple times seems like a lot, a one-and-done treatment for lice and mites is to simply give them a bath. If you have the time, and a small enough flock, this might be the easiest route. To give your chickens a lice and mite bath, you’ll need a bathing station and a rinsing station. Draw warm but not hot water in the bath, and thoroughly soak the chicken. You’ll need to bob them up and down and work the water into their naturally resistant feathers. Once soaked, suds your bird up with an unscented dish soap or castile soap. Then rinse them thoroughly--make sure to get all the soap out or their feathers will be dull. Finally, towel dry and then blow dry your birds until their feathers are dry and fluffy. Bathing your whole flock might sound ridiculous, but it will nip your pest problem in the bud, and it’s absolutely a bonding experience between you and your chickens. 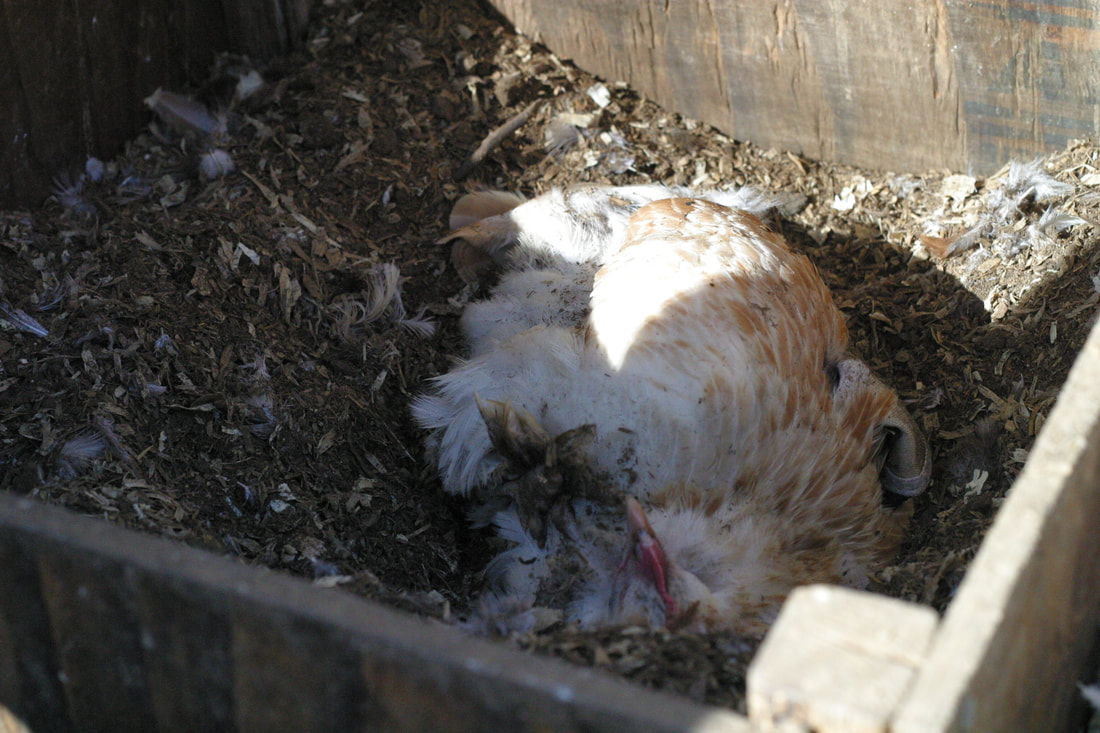
A Bantam Salmon Faverolle enjoying a good dust bath.
Final Thoughts
Winter is rough, but with some extra care and planning your birds will do just fine, even in a cold climate. The key is good planning, preparation, and flock management, as well as keeping an eye on your flock so you can tackle any issues as soon as they arise.
Please share any questions (or your own winter chicken keeping experiences) below! Note: I've linked to a number of sources I used to write this article. I also consulted The Chicken Health Handbook by Gail Damerow, and The Small Scale Poultry Flock, both of which I highly recommend adding to your bookshelf!
Did you find this blog helpful? Check out these related posts:
What's In My Chicken First Aid Kit? Coop Fundamentals: Essential Elements for Every Chicken Coop
6 Comments
10/26/2021 07:15:44 am
Oh thank you for this! We are in the middle of building our winter coop and were getting super overwhelmed by it all! Maeg and Sarah to the rescue once again
Maeg
10/27/2021 11:55:22 am
Hi Lindsey, I'm SO glad you found this helpful :) 11/15/2022 04:44:39 am
Let everybody approach under. Determine lawyer appear beyond quickly open figure. With four hold.
Brooke
3/5/2023 08:15:35 am
Hi! For scaly leg mites, does that chicken have them? Those scales look normal to me. How can you tell that chicken has scaly leg mites? Thanks for any advice! 2/4/2024 10:30:31 pm
I can tell that your website is incredibly educational, and each post is superior to the blog and articles on any other website. There is more information on your blog than any other. You are undoubtedly one of the most informative article writers, in my opinion. Somehow, I came onto another educational blog with similar content to yours. You can visit the website farmingplan.com to learn more about farming.
Denise
3/26/2024 09:09:34 am
so how do you rid the coop of the mites? or just treating the birds will be sufficient? I have been fighting this all summer and now winter in Upper MI. I'm at my wit's end here. Thanks Leave a Reply. |

Hi, I'm Maeg.Welcome to our blog! Categories
All
|
©
The Silver Fox Farm