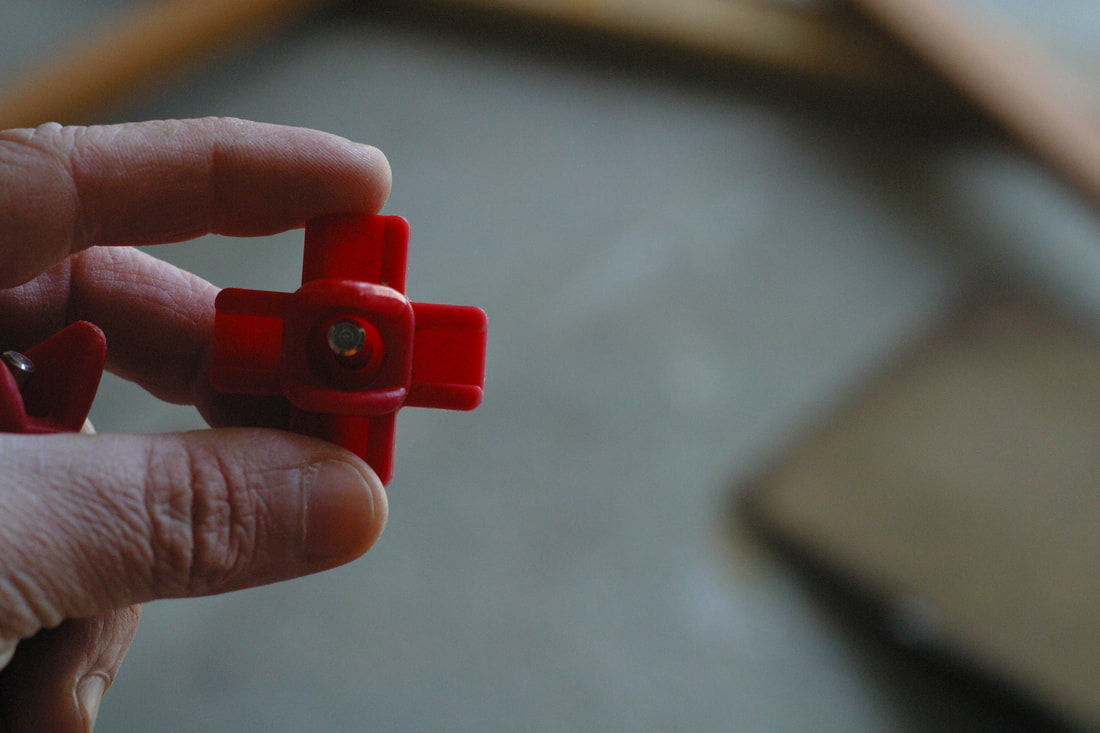
 In this post, I'll show you how to make a DIY chicken waterer. This is the exact design we use on our farm. These waterers are easy to make, inexpensive, and will keep your flock's water fresh and clean. Many years ago, in another life, I had my first flock of chickens: six buff Orpingtons I’d ordered through my local feed and seed. They were sweet as heck, and not quite legal, but adored my neighbors. I loved those birds, but since they were my first, there was definitely a steep learning curve for me. I had dutifully purchased everything they needed, including a large plastic poultry waterer. It was pricey (something similar would set you back about $50 now) and had an open trough that made it hard to keep their water clean. I suspect that this design, along with my inexperience, contributed to one of my birds falling ill. After that experience, I wanted a way to both save money and keep our birds’ water as clean as possible. The solution? Making our own DIY waterers at home. It’s incredibly easy, and in this post I’m going to show you exactly how to do it! All you need is a few minutes and a few simple tools. How to Build Your Own DIY Chicken Waterer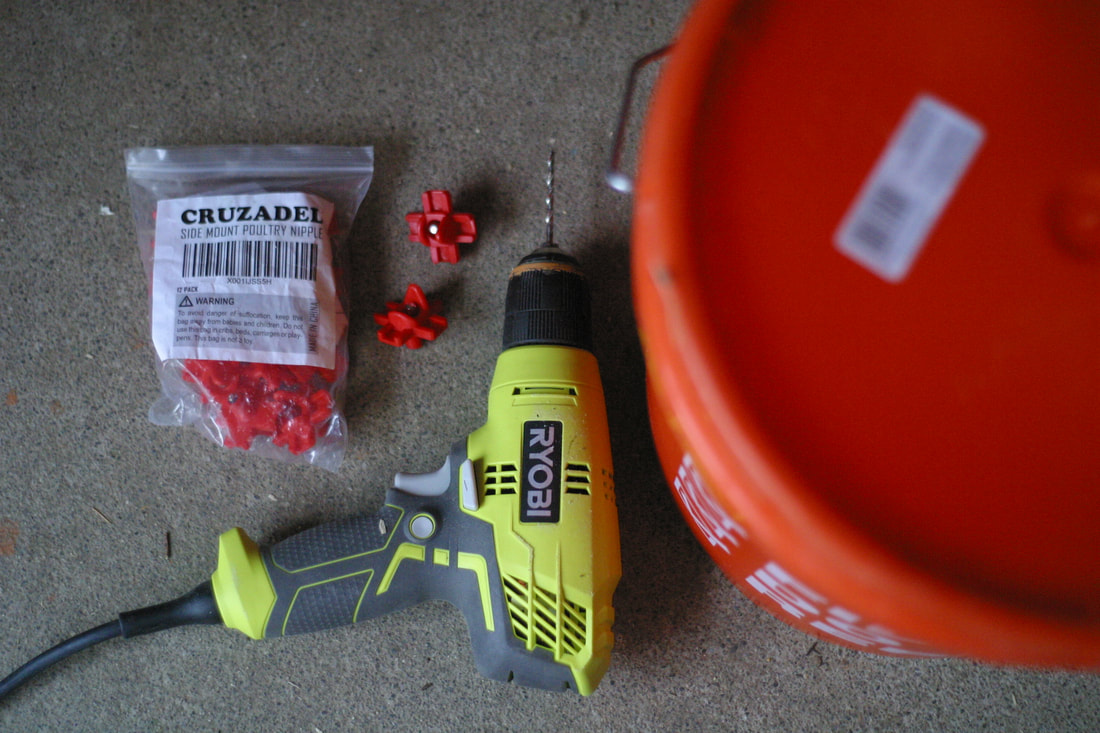 DIY Chicken Waterer Supply List Before you begin, gather your supplies. You will need:
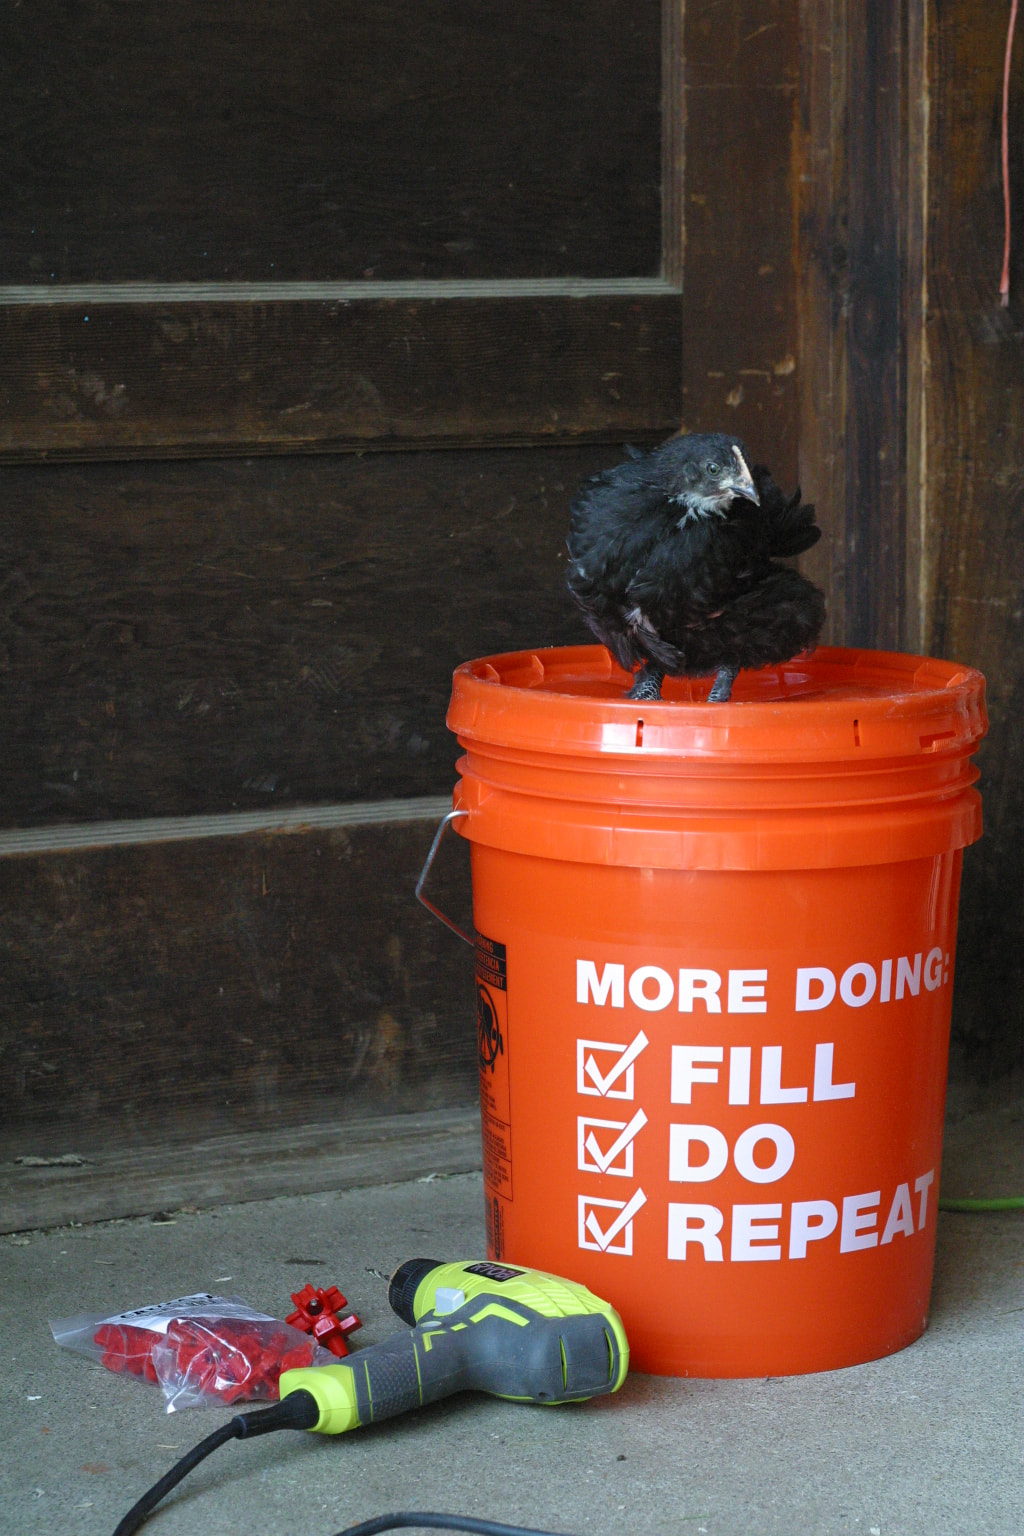 Step 1: Gather your drill, drill bits, poultry nipples, bucket, and lid. Also, a chicken (I forgot to mention the chicken earlier, but it is important). Use 2-3 nipples per bucket. Your flock should have about 1 nipple for every 6-8 birds, or 1 for every 3-4 birds in hot climates. Make extra waterers as necessary. 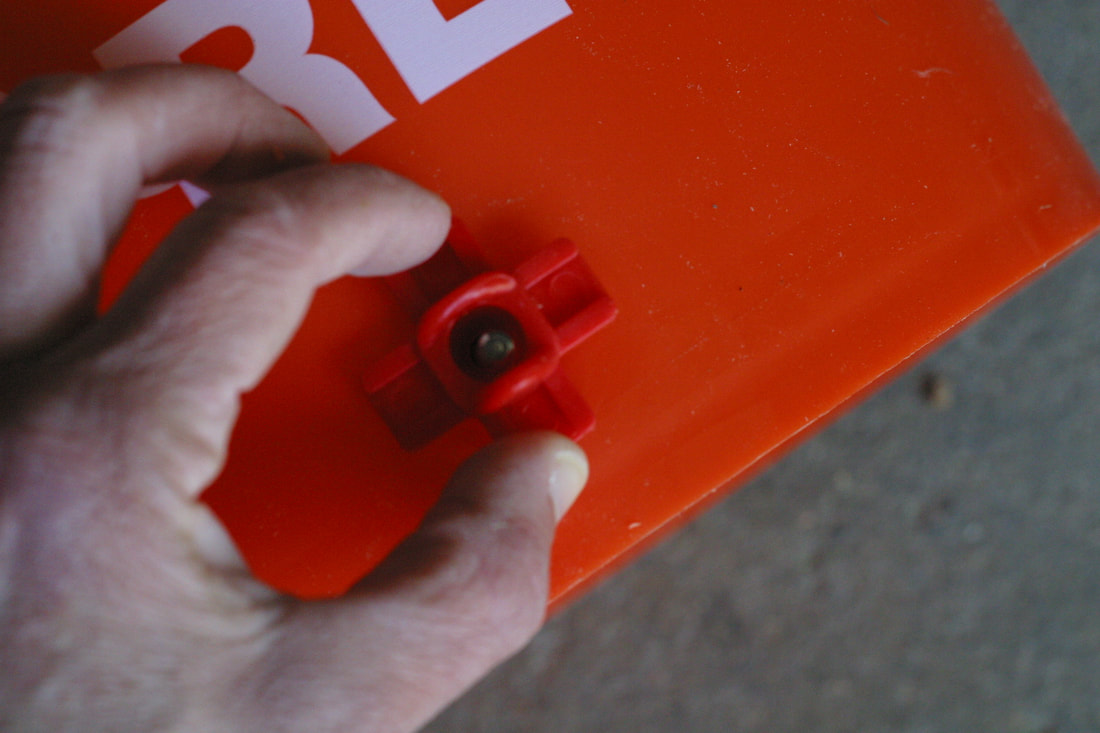 Step 2: Drill holes for the poultry nipples 1-1.5 inches from the bottom of the bucket. Screw in the nipples by hand, leaving a slight gap between the nipple and the bucket so as to prevent your container from cracking. 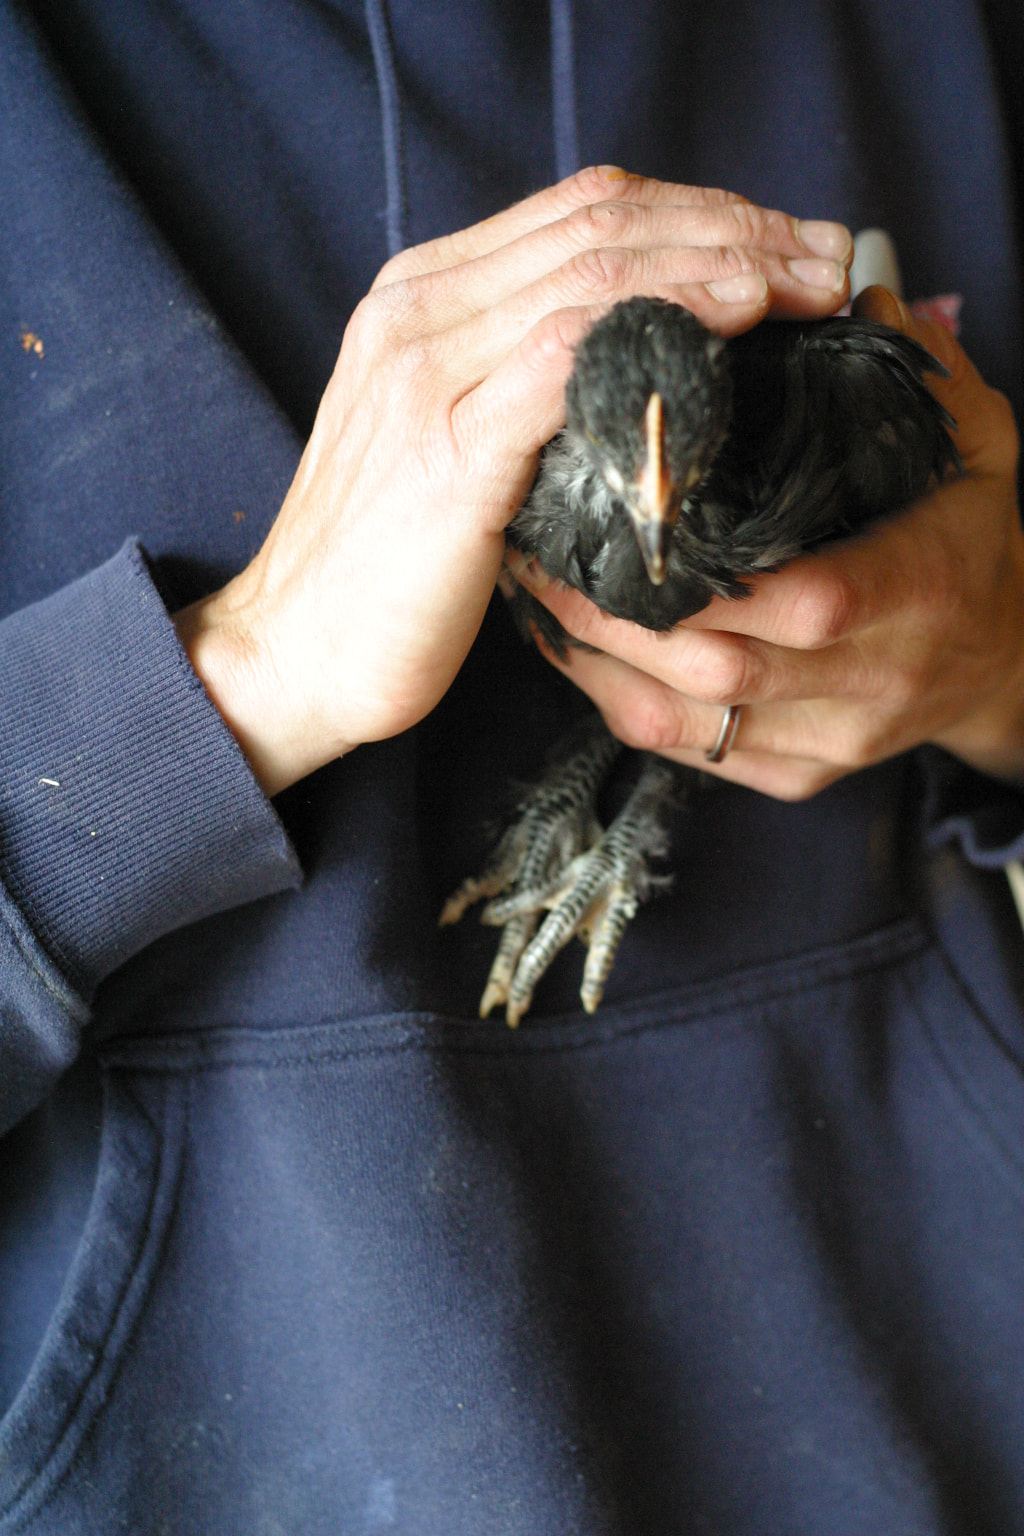 Step 3: Take a break and pet a chicken, as all this drilling is very hard work. And you probably thought I was joking when I said to bring a chicken, huh? 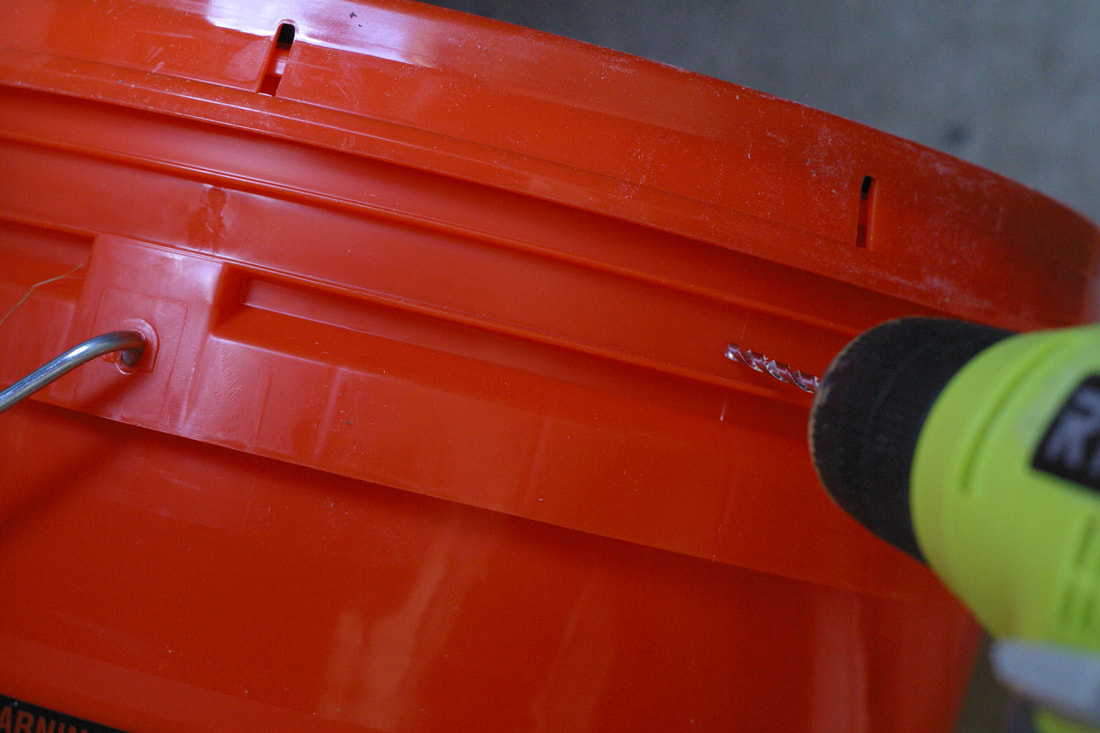 Step 4: Use your 1/8" drill bit to drill two small holes near the top of your bucket. These holes are very important. They prevent a vacuum seal from forming in the bucket. When a vacuum is created, no water will flow from the nipples and your chicks will become dehydrated. 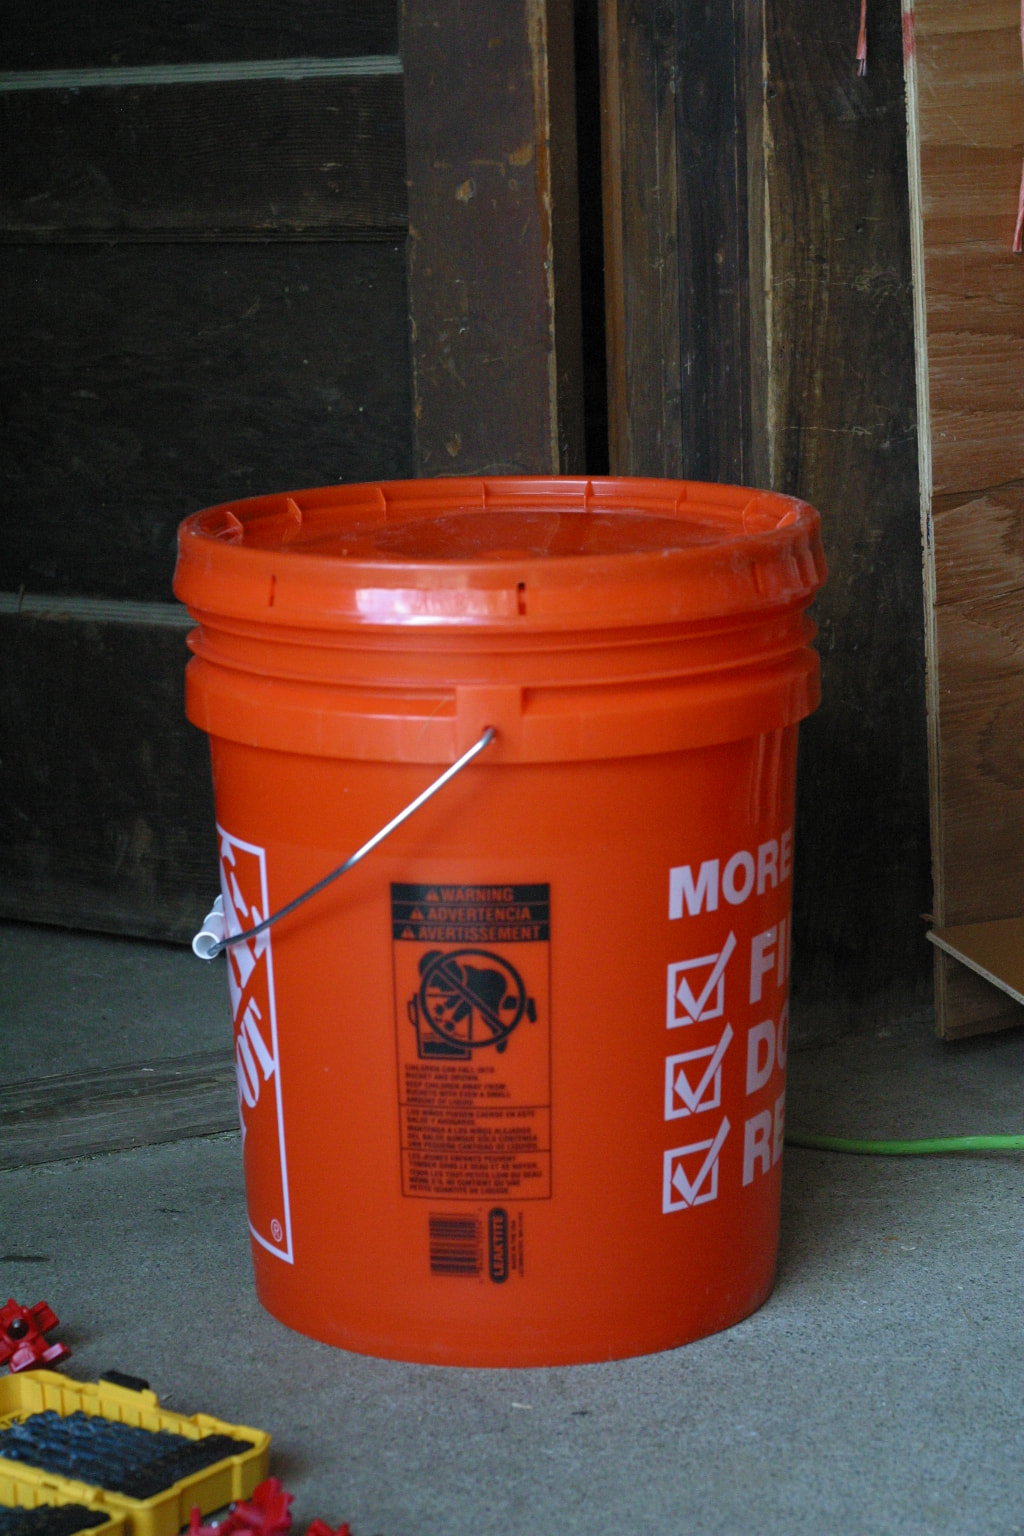 Note: Some instructions advise putting these small holes in the lid. I always put them on the side of the bucket, near the top, instead of the lid, so that they can't be sealed by things like chicken poop. I don't know about you, but my chickens LOVE to poop on everything. 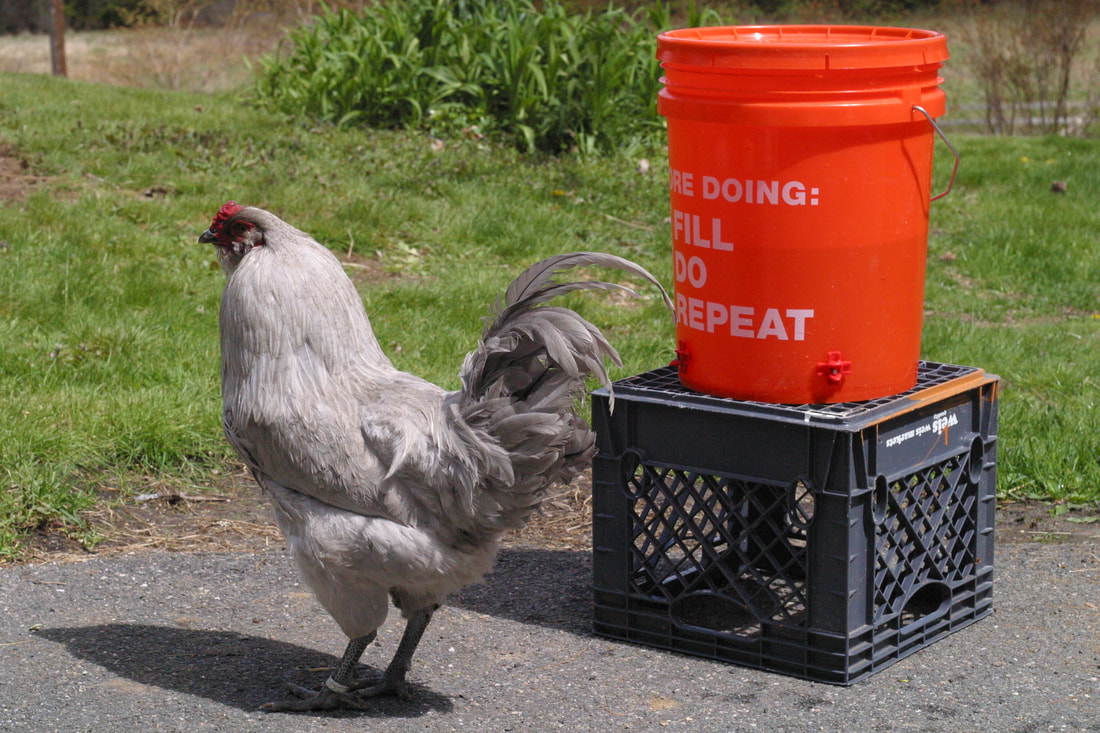 Step 5: Introduce your chickens to their new waterer! Chicks two weeks and older are strong enough to drink from a nipple. Train any chicken two weeks or older on their new waterer by holding them and gently pressing their beak to the nipple until they get a sip of water. Chicks will learn quickly and also teach others.
That's it! You've made your own poultry waterer, and for a fraction of the cost of what you'd spend on a ready-made version. With care, these buckets will last for years.
0 Comments
Leave a Reply. |

Hi, I'm Maeg.Welcome to our blog! Categories
All
|
©
The Silver Fox Farm